We have had a blast completing this project last time using the Arduino board. Today, This DIY kit will help us achieve the same result in a completely different way.
Here is a small volume meter for us to play with today.
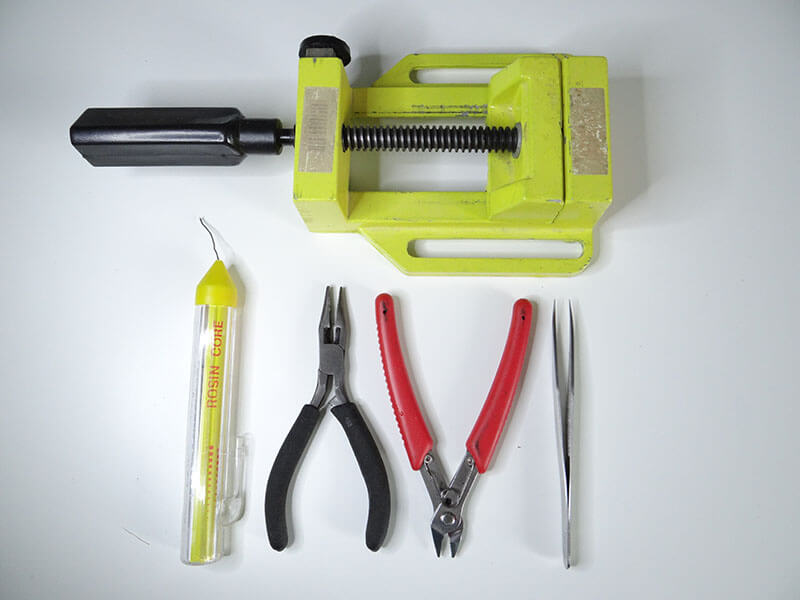
Besides the parts, you will also need these tools:
- A Soldering iron
- A Tin
- A Vase
- Tweezers
- A wire cutter
Here is what you can find in the kit:
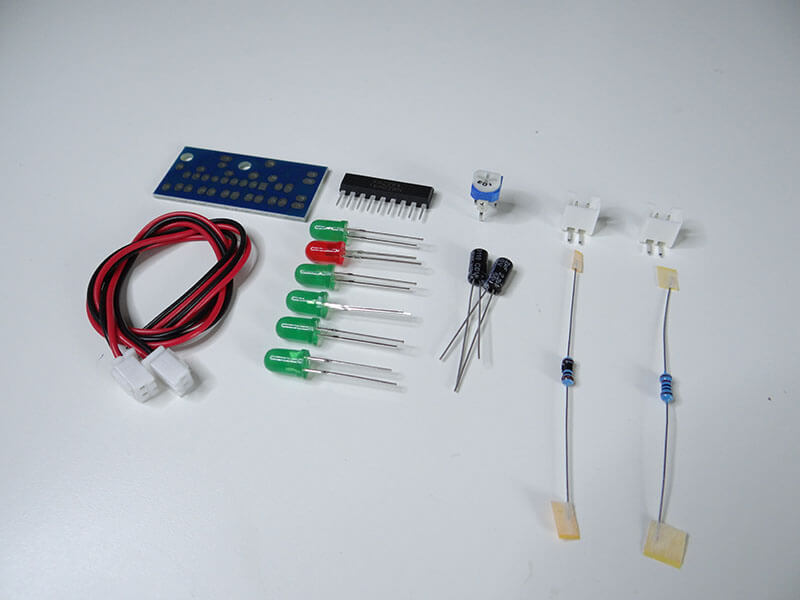
- LEDs
- A PCB
- Capacitors
- Resistors
- KA2284 module
- Cables
- Connectors
- A Potentiometer
Turn on your soldering iron, and let it heat up.
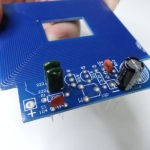
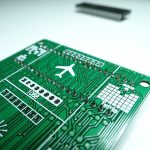
Here is our PCB (Printed Circuit Board)
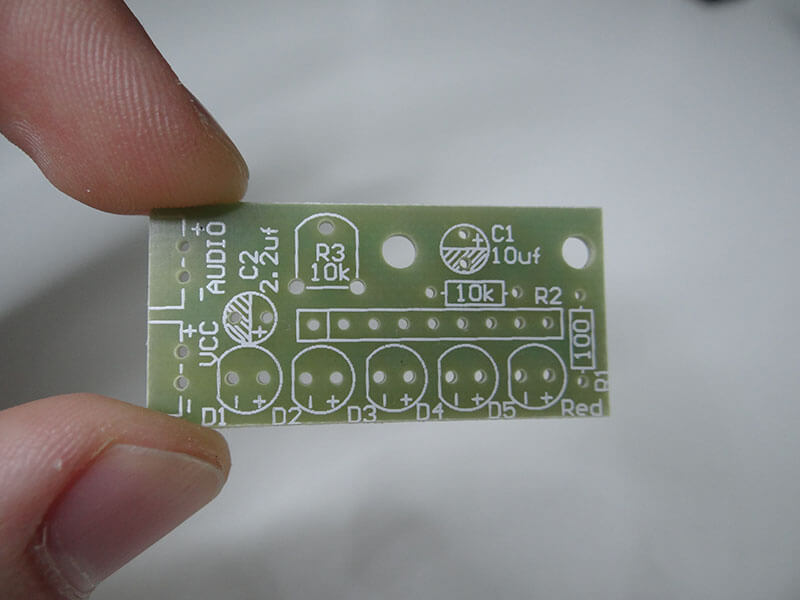
Everything is perfectly labeled on the board. There are even values for the components.
The first components that we will put in place are capacitors and resistors because they are the smallest.
Be careful connecting the capacitors since we have both of them with different values and double check their capacity before connecting.
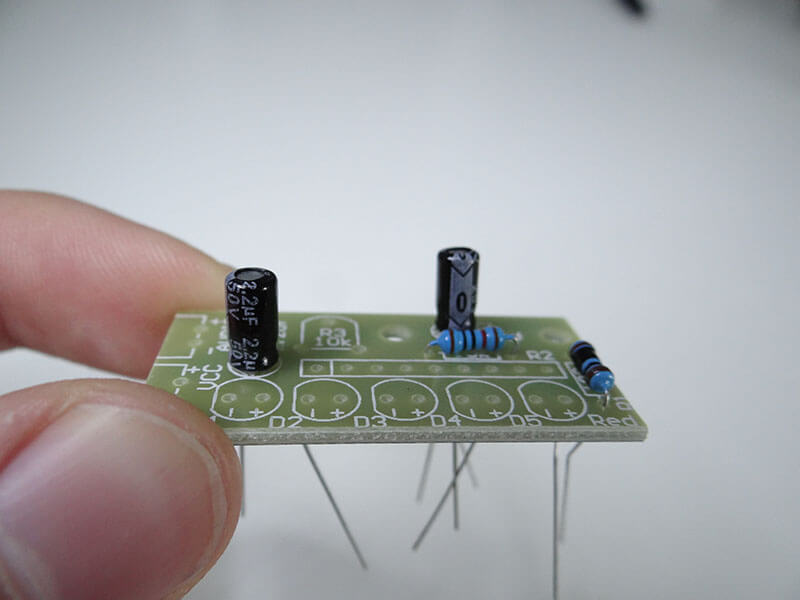
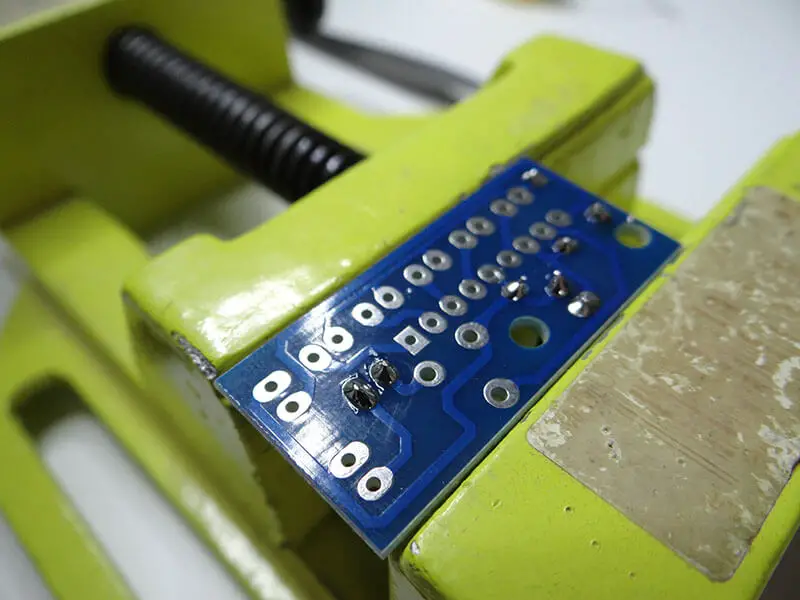
To make soldering simpler you can put your PCB upside down in a vise.
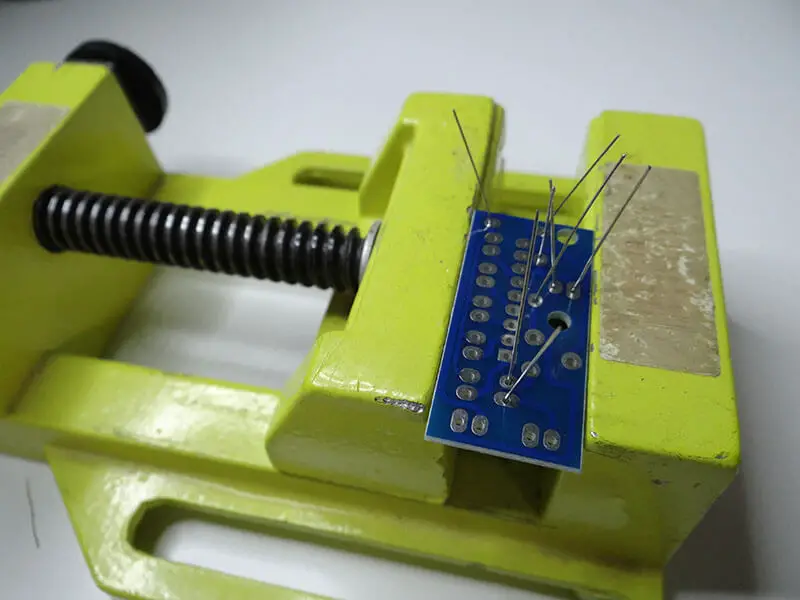
Gently solder all of the legs, and when you are satisfied, cut out the legs of the components.
Put KA2284 in place and make sure that the bevel on its size matches the sign on the PCB.
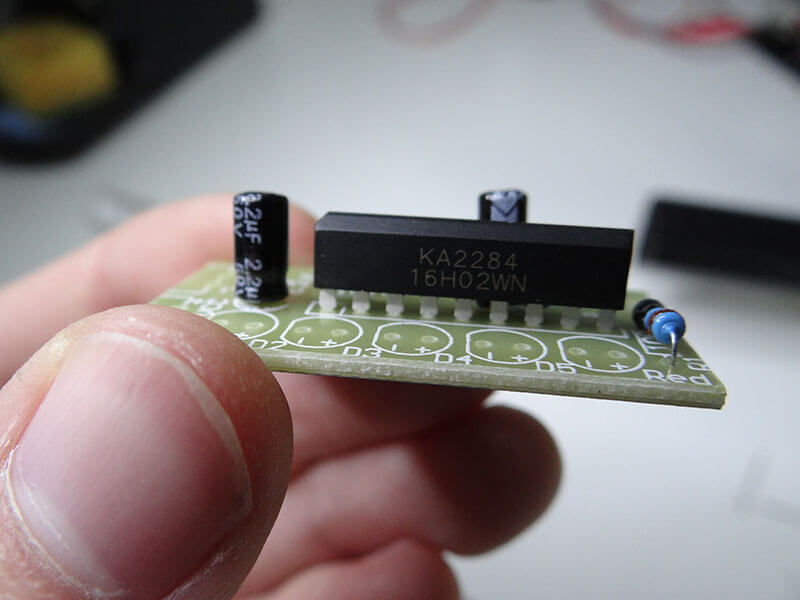
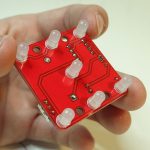
Before soldering it, let’s put all of the LEDs on on the board. Remember that the longer leg of the LED is the + and shorter is the -. As you can see last, the LED is labeled as Red.
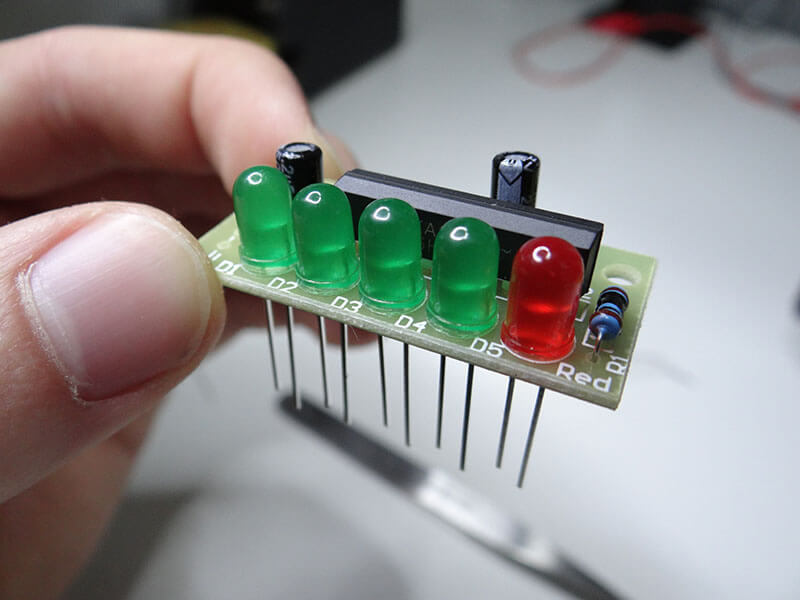
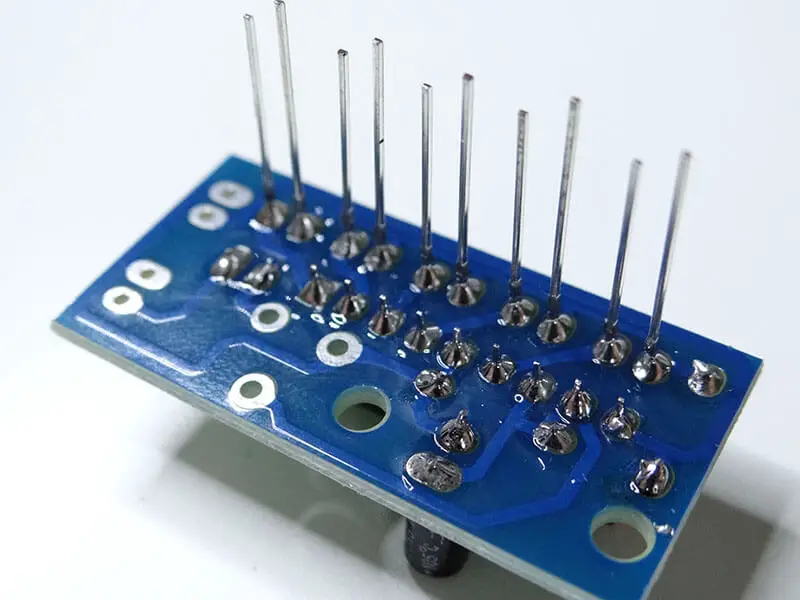
Solder, cut out longer legs of the components.
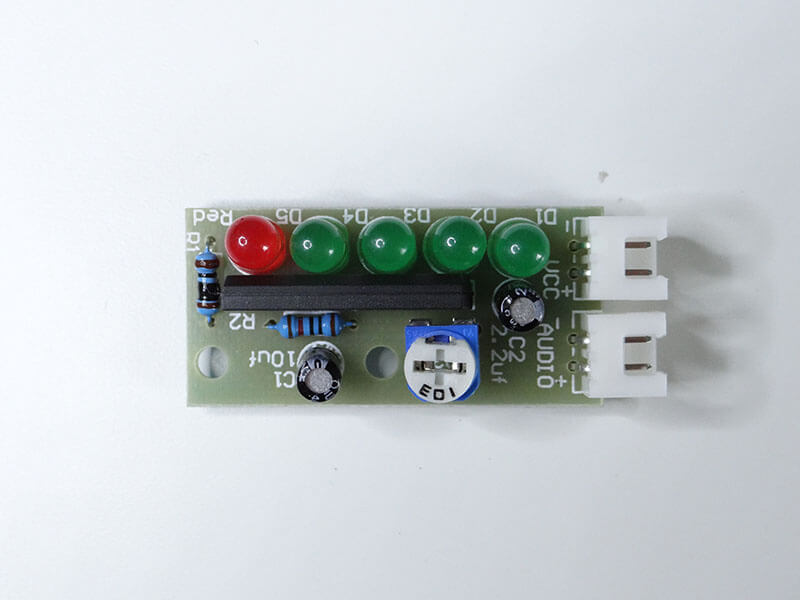
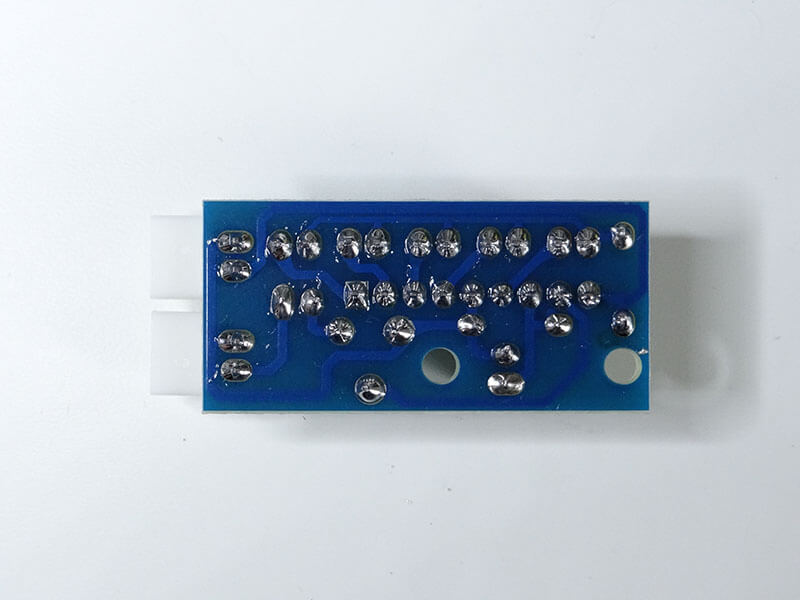
There are the last 3 components we need to solder: the potentiometer and two connectors for power and signal input.
You will also need to add a jack plug to connect it to your phone or some kind of music device.
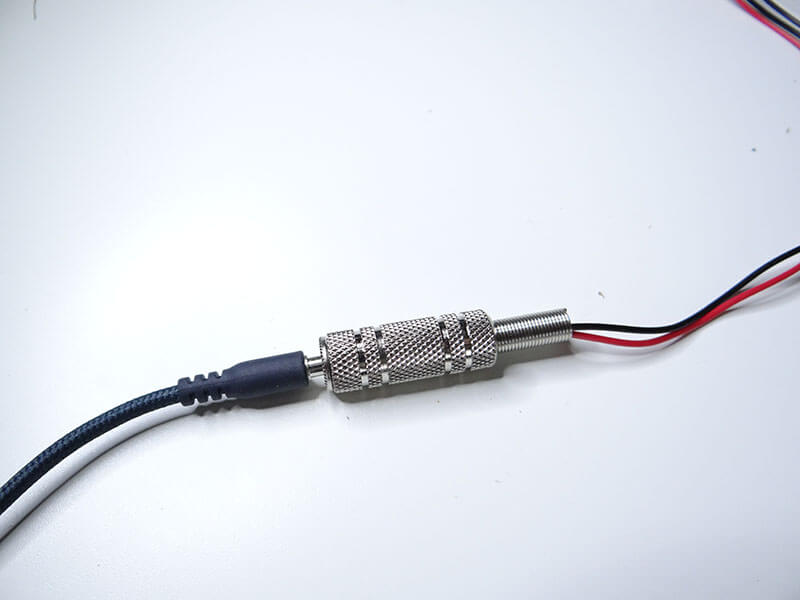
The other socket is used for power input. You can use voltages between 3.5V up to 12V.
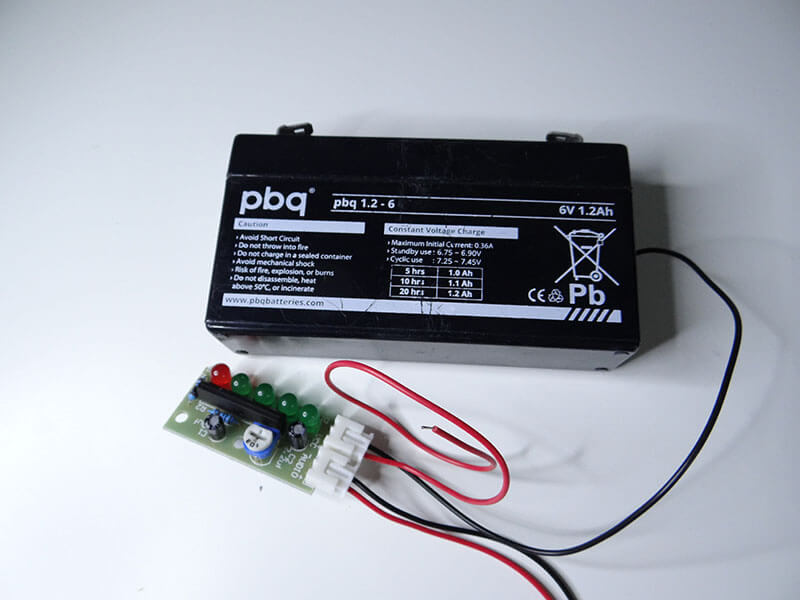
Hope it worked. Enjoy!
