This is the last touch that we need on this foundational leap to start creating 2Ds with Draftsight. After completing this one, we will be free to start working with some examples.
In this tutorial, we will learn how to trim and Extend, with Drafsight.
Trim with Draftsight
The TRIM command is one of the most used command.
To trim while on Draftsight, use the TRIM command.

Using the TRIM command
- Click on TRIM
- Select objects involved and Press ENTER
- Select edges to trim
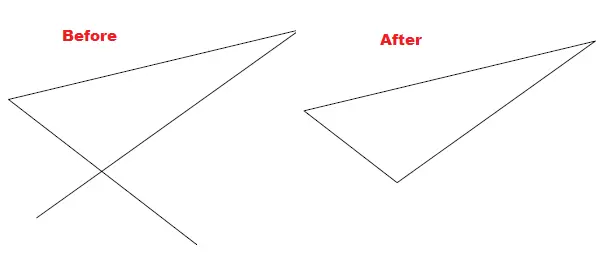
Here is an example.
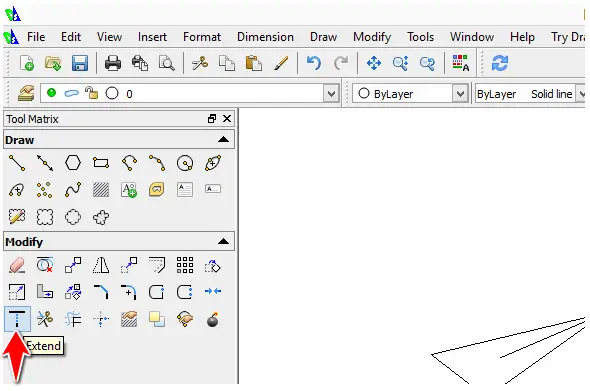
Extend with Draftsight
You can use the EXTEND command to extend an object till it intersect another object.
To Extend an object
- Click on EXTEND
- Select objects involved and Press ENTER
- Select the object to extend
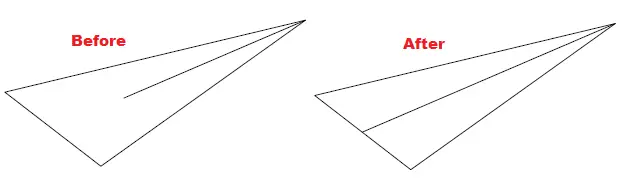
Here is an example
Please note that while using the EXTEND command, the object which acts as a limit of the extension has to be on the way of the object to extend (needless to say the two objects must not be parallel)
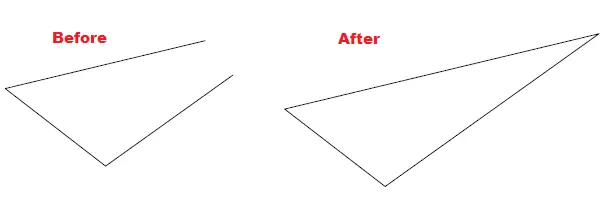
If you happen to have two objects which are not parallel, just like the one on the left picture below, extending both at the same time won’t work using the EXTEND command.
One thing you can do instead is use the FILLET command with R=0 to extend both with a single command.
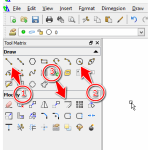
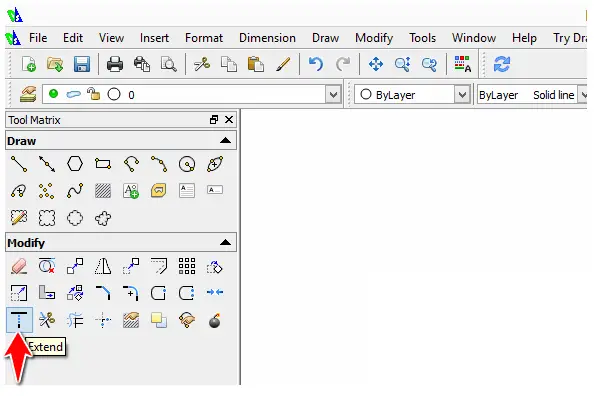
To use the FILLET command
- Click on FILLET
- Type R and Press ENTER
- Type 0 and Press ENTER
- Select first line
- Select the second line
Here is where the FILLET icon is