Here is a quick post, made just to illustrate what using Draftsight is like compared to AutoCAD, or compared to other CAD software using a simple 2D draft.
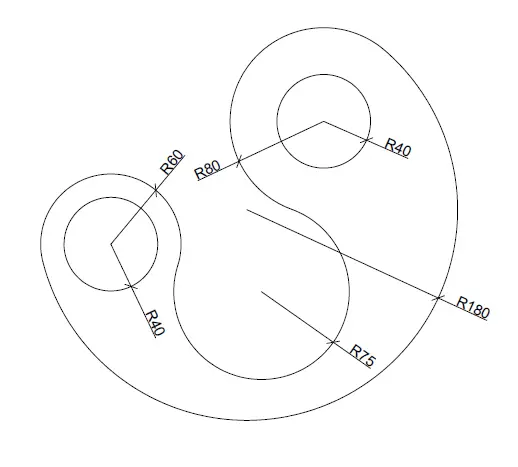
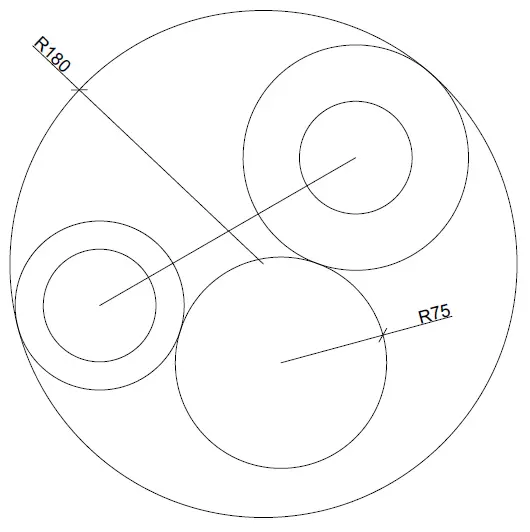
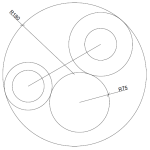
We will use the images below. Though Draftsight is, with some regards too similar to AutoCAD, it will still require sometime (this will depend largely on your degree of martery of CAD) for a new user to completely make the transition. Most Commands will coincide with the ones used in AutoCAD. Just as the command LINE and many others
2D Draft
Image 1
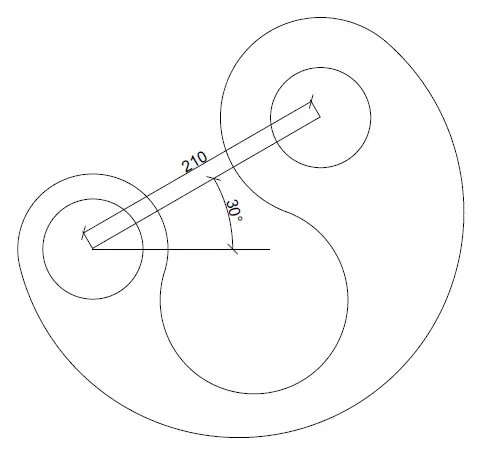
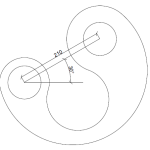
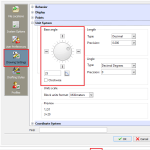
Image 2
without further delay, lets jump into it
Step 1
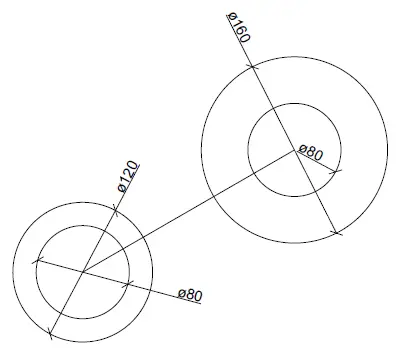
To start the draft above, we will star with the following 4 circles
You can find the dimensions of the straight line separating the two blocks on the second image in this post.
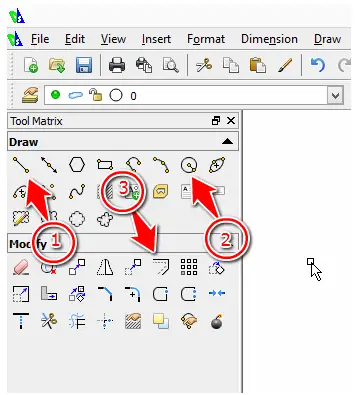
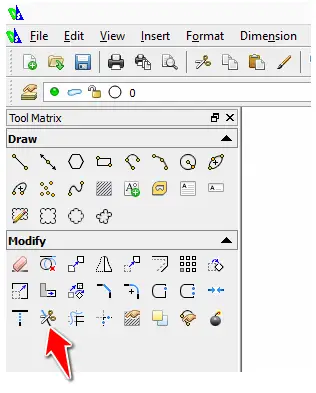
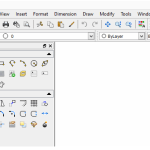
To draw circles: use the icon 2, to draw the line: use the icon 1. An alternative route can be to use the OFFSET command, which the icon is shown on 3. (You can do without it)
Step 2
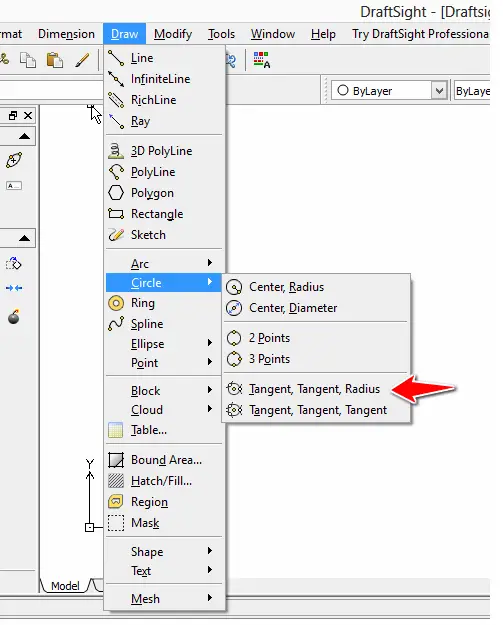
Use tan-tan-radius to add the two following circles to the whole
The tan-tan-radius is hidden under the DRAW tab.
Step 3
The last thing you need to do it to trim. You can find the TRIM command here.
Using Draftsight is similar to using AutoCAD, thought AutoCAD has many more features when it comes to advanced CAD projects. But using either AutoCAD or Draftsight for beginner’s projects would not make any difference. If you are proficient with one of them, it will be easy to jump on the other and to start riding from day 1.
