We’ve hit the last DAY of the series, and we hope we have provided you with some insight and that those helped you gain more confidence working with AutoCAD.
In this session, we will rush a little bit, and learn a few things you need to learn before closing.
Things we are going to be pushing forward in the following lines are
- How do you write a text in AutoCAD
- Working with Layers in AutoCAD
- How to annotate in AutoCAD
All will be covered just from the basics point of view, but the most important will be covered.
Learning AutoCAD Basics
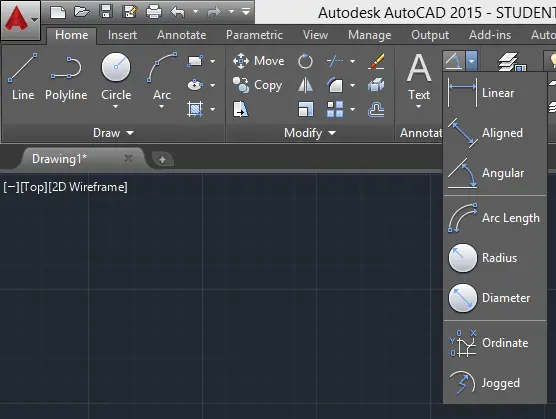
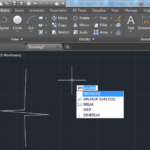
Annotation in AutoCAD
The following drop-down menu will help accomplish annotation in AutoCAD. Here is an article where I went through the steps of annotating a project using AutoCAD.
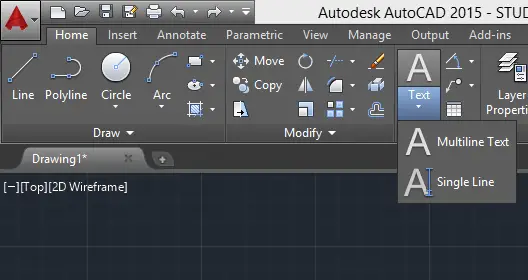
TEXT in AutoCAD
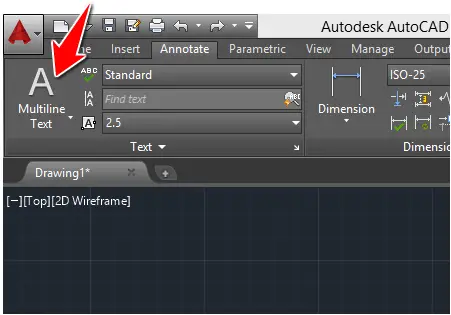
This can also be reached from the HOME tab. Just try it out. It also provides you with the necessary degree of control on the style, the size, and the font of the text you create.
Working with Layers in AutoCAD
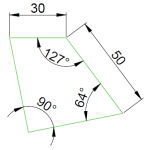
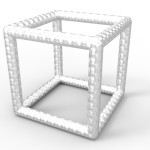
The following image will serve as an exercise.

This is nothing but the image we worked on DAY 19, Now the task will be to create 5 Layers, and place each of the parts of this project in, each on a separate layer.
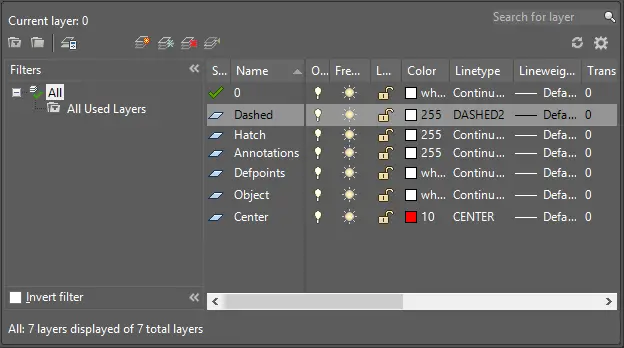
Layer 1: the Object itself
Layer 2: The Dashed lines
Layer 3: The centerline
Layer 4: HATCH pattern
Layer 5: Annotations
Your layer properties manager window should look somewhat like the following.
Learn more about creating LAYERS in AutoCAD.
And that is all. I wish you success and see you around.
Learn AutoCAD Basics in 21 DAYS
- Learn AutoCAD – Day 20
- Free AutoCAD Tutorial Courses
- AutoCAD tutorial – Tips and tricks
- Start with AutoCAD 3D
Related posts:
 AutoCAD Tutorial 00: AutoCAD Free Download Full Version
 AutoCAD and its Uses: What is AutoCAD Used for?
 Unique 2D Autocad Exercises to Improve Your Skill Now
 Learn AutoCAD Basics: DAY 4
 Learn AutoCAD Basics: DAY 13
 AutoCAD Tutorial 19: Convert Spline to Polyline
 Save Your Life With the SPHERE Command in AutoCAD
 AutoCAD Tutorial: Breakline AutoCAD
Just finish this exercise .. Thank you very much for making this tutorial. I have leaned a lot, but still kinda hard for me in array..
Thanks for taking the time to drop a comment and remember to continue practicing, this is the only way you get better. 😉