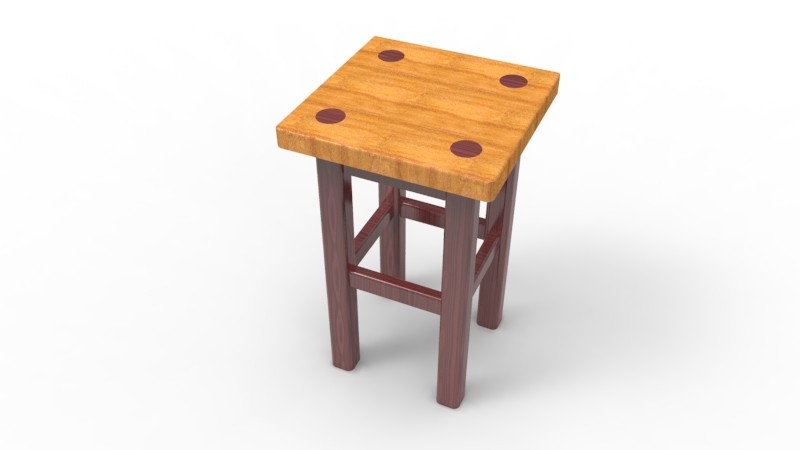
With this exercise, we are heading toward advance modeling sessions using CAD.
Here you will learn how to use what you have learned so far to model about anything you want to model in real life using AutoCAD (or other CAD software).
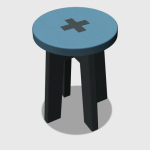
We will model a stool using elementary 3D commands in AutoCAD, all by designing all its parts starting from 2D objects, moving to 3D and assembling in the last stage.
At this point you must have mastered the following 3D commands (not to mention the 2D basics command):
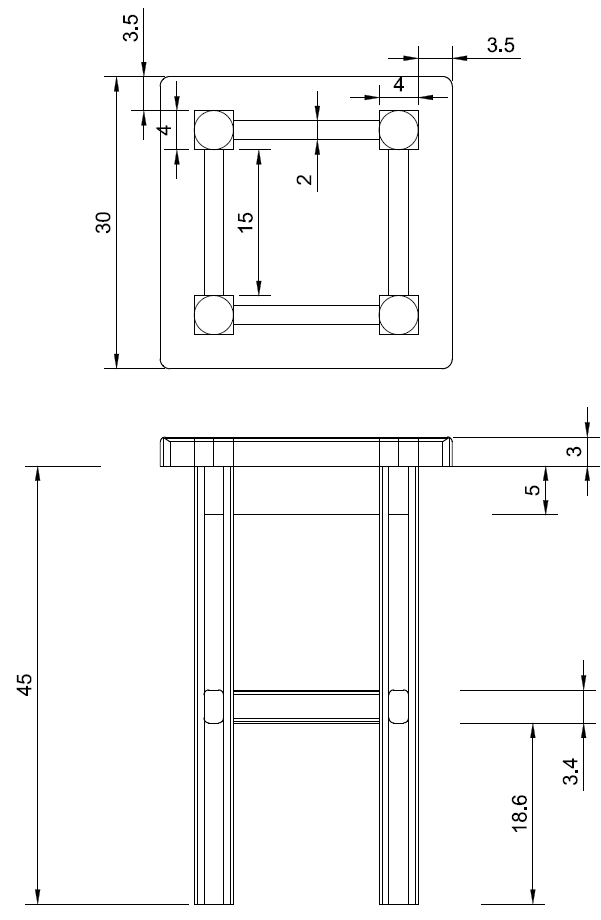
Here are the dimensions you will need to consider for the project. The fillet is R1.
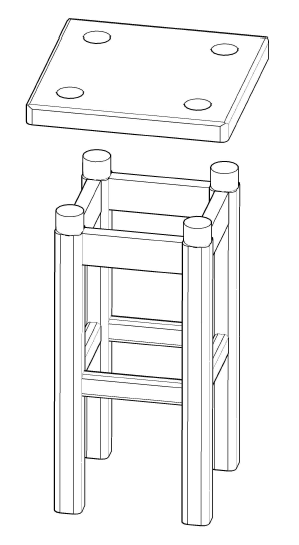
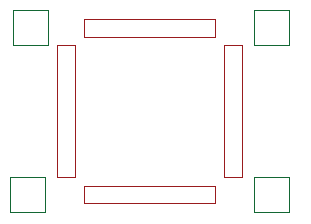
Here is a semi-decomposed image of the stool
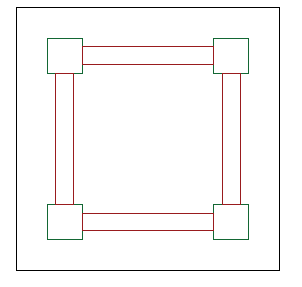
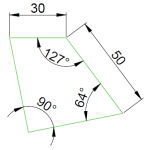
You can use any method you find appropriate to model this stool in AutoCAD. But if I had to suggest, I will tell you to start with the following object in 2D
Then you can use the REGION command on each of them before Extruding them with their applicable length. Before using the REGION command, each of them has to be on its own for you to select only the part belonging to the adapted block.
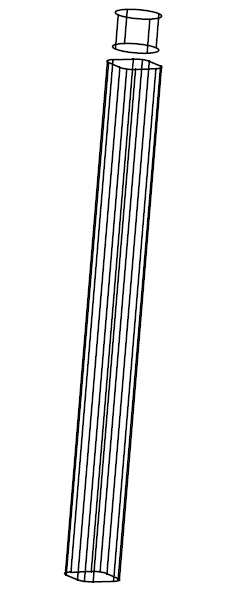
The leg of the stool is just a cylinder on top of 3D rectangle.
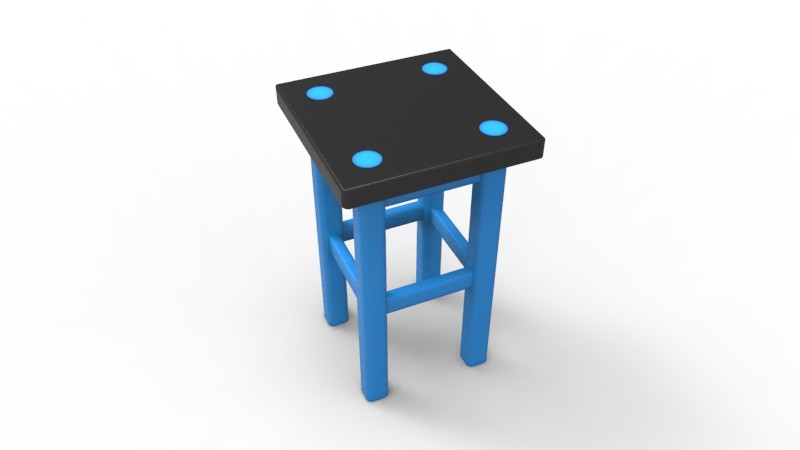
At the end, you can round all external edges with a fillet of R0.5 not to have them too sharp. (Want to download this project? click on the image below)
3D Projects (Good 3D practice exercises)
- 3D Design project for beginners – AutoCAD
- An easy Modeling 3D project
- AutoCAD 2D to 3D – Good tutorial for Begin
- 3D Design project for beginners – A Stool
- 3D design project for Beginners – A table
- CAD projects for Beginners – Tinkercad
- REVOLVE in AutoCAD
- How to assemble with Tinkercad
- Beginner’s tips – Autodesk Tinkercad
- Design a mechanical part with Autodesk Tinkercad
- Modeling with AutoDesk Tinkercad






I do love this! This piece has been well rendered. What software did you use to render this design?
SketchUP