Welcome to this lesson!
Before starting I would love to mention that we have had a couple of 3D projects earlier here, but those lessons were most focused on creating 3D objects using AutoCAD.
Here is how to dive into Tinkercad and start creating cool 3D objects that you can print if you want to.
Autodesk Tinkercad is a suite of hobbyist CAD and 3D modelling tools created by Autodesk. Tinkercad is one of the tools included in Autodesk Tinkercad.
You can download Tinkercad for free here.
As a reminder I would suggest you have a look at the 3D objects we have worked on in the past, you can use Tinkercad to replicate them as an additional exercise.
CAD projects for beginners – 1
CAD projects for beginners- 2
A CAD project for Beginners
Tinkercad is a CAD software you would not have any problem to get accustomed to, if you have been using CAD software for sometime. The interface is not different from other CAD applications you may have come across earlier.
While this is not a review of the software, let’s right jump into learning how to use it to model 3D objects.
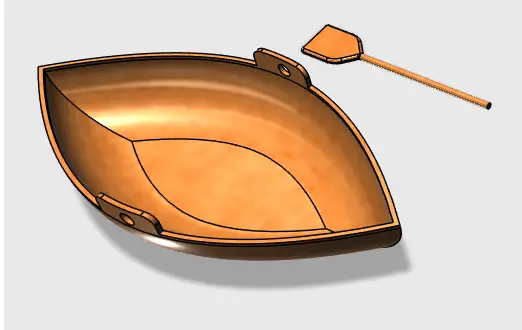
Project
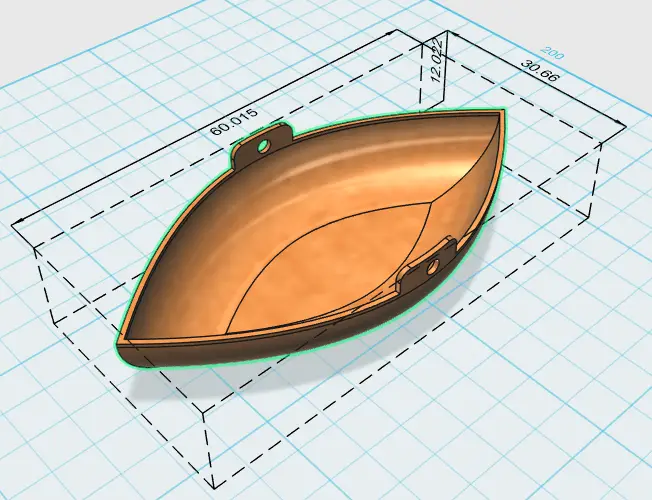
You can find on the previous picture, roughly the dimensions used for this project.
To start, we will use some basic tools to sketch primitive 2D shapes that will help in putting us in an easy path to create the object of this project.
Step 1
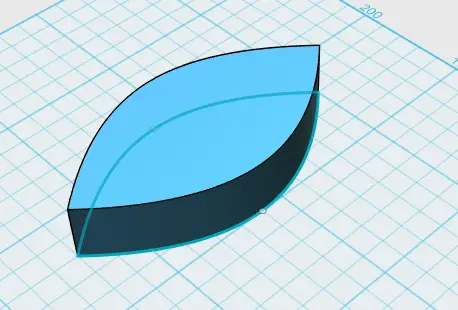
Here is what the first object to draw looks like (You can use the grid as a reference to replicate this object)
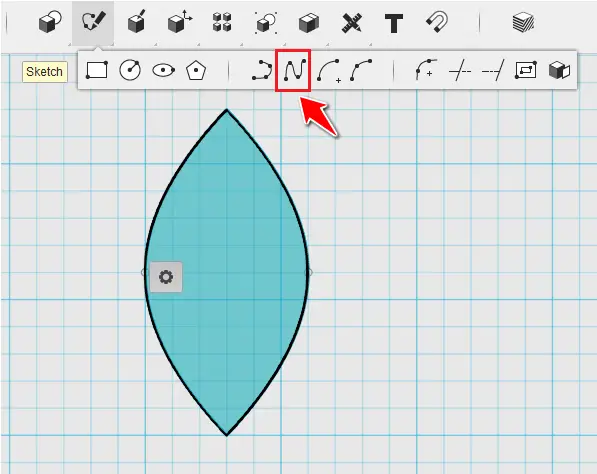
I used 2 Splines. You can choose to draw one Spline, and MIRROR is to find the second half of the image
- 3D Design Project for Beginners – A Stool
- 3D Design Project for Beginners – A Table
- 3D Design Project for Beginners – AutoCAD
- An Easy Beginner 3D Modeling Project
- Autocad 3D: Save Your Time With These Tricks
- Awesome and Exciting CAD Projects for Beginners – You Need to See These
- Beginner’s Tips – Autodesk Tinkercad
- Best Mouse for 3D Modeling
- Design a Mechanical Part With Autodesk Tinkercad
- How to Assemble With Tinkercad
- Model a Vase in AutoCAD Using The Revolve Command
- Modeling a Vase With Tinkercad
Step 2
Extrude the whole.
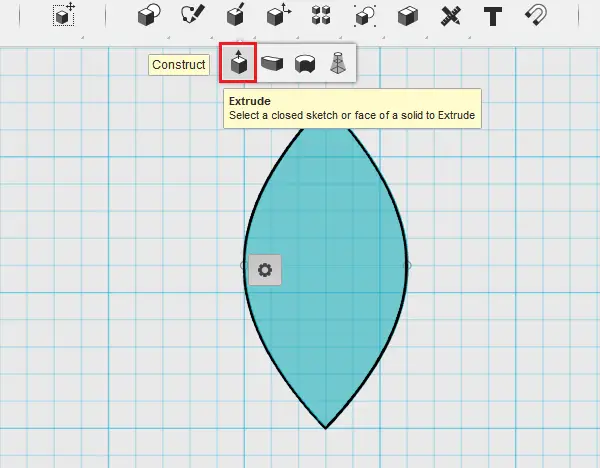
You should end up with the following
Step 3
Use the Fillet command on the lower edges of the object

Step 4
Use the OFFSET command and use the upper plane surface as you reference
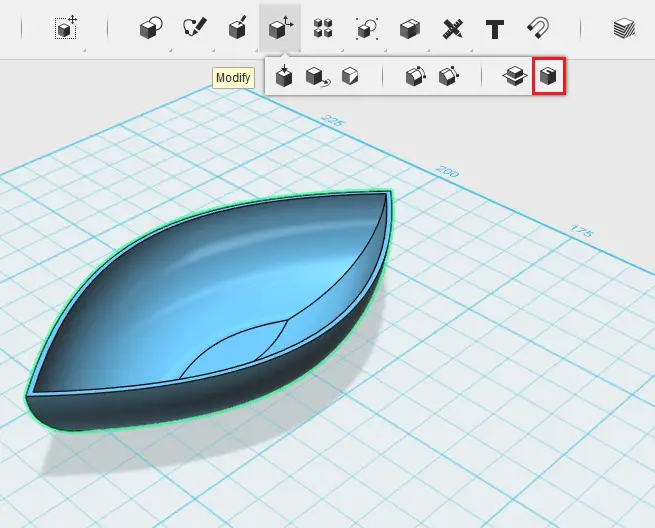
Step 5
This is one of the way you can use to accomplish this part of the project. Feel free to explore other ways if you can afford it!
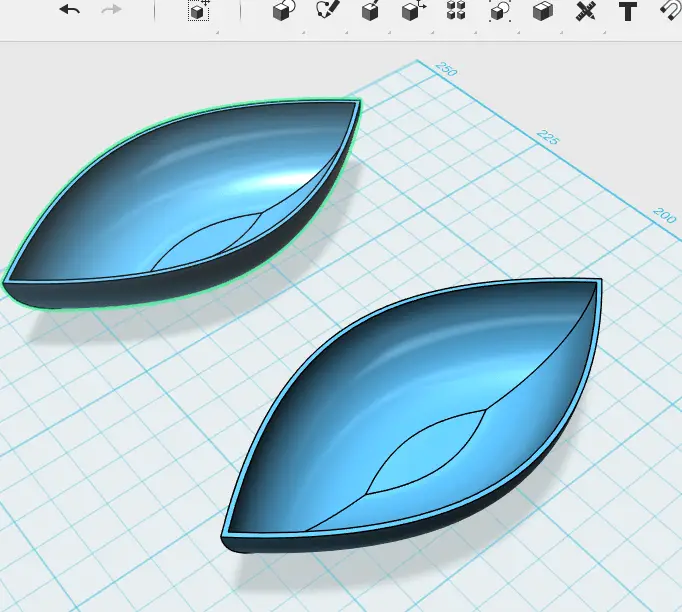
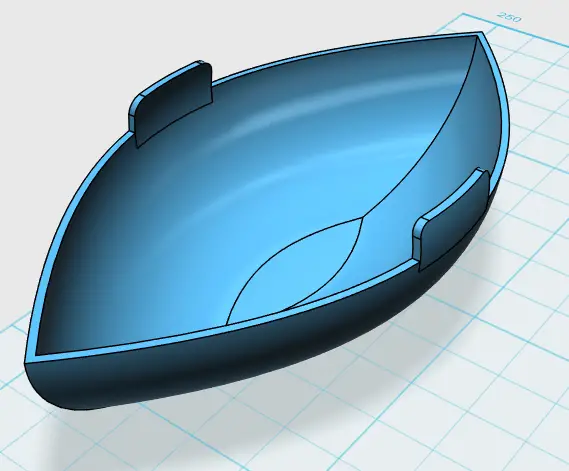
Coming out with the following shape is pretty tricky.
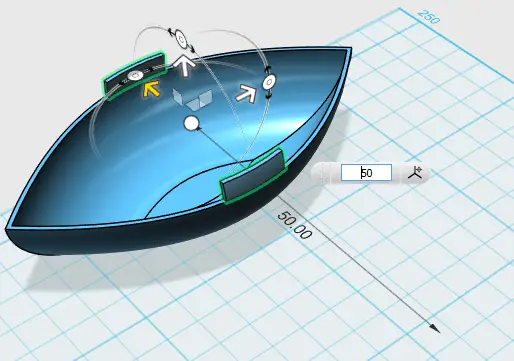
The first thing I want to do is to copy the object and remember the distance I moved the copy from the original. Let’s move linearly the copy 50 units from the original on the right side. (To do this, Select the object, Ctlr+c and Ctrl+v, select the axis of displacement, Enter a distance, and Hit Enter)
What I want to do now is, pull the upper shape of the canoe with a height of 3 units.
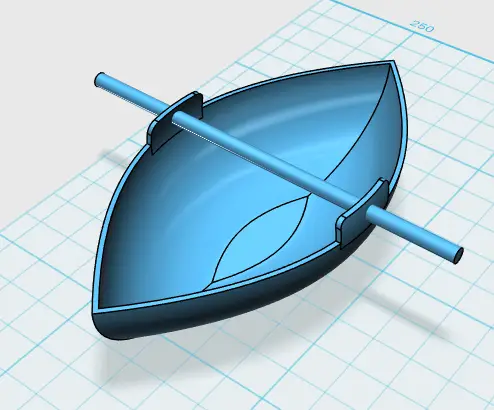
Create a bar crossing the canoe such as shown on the image below.
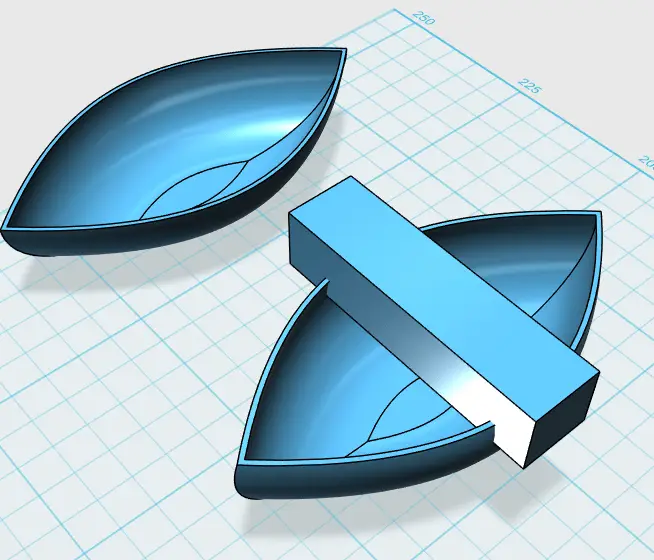
Extract the intersecting shape of the bar + the canoe using the INSERTSECT command
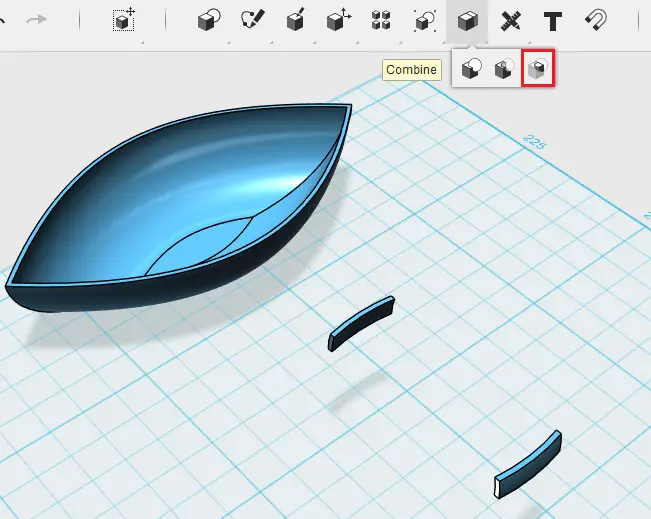
Move back the two pieces to the original object. Remember it has to be move by 50 units back.
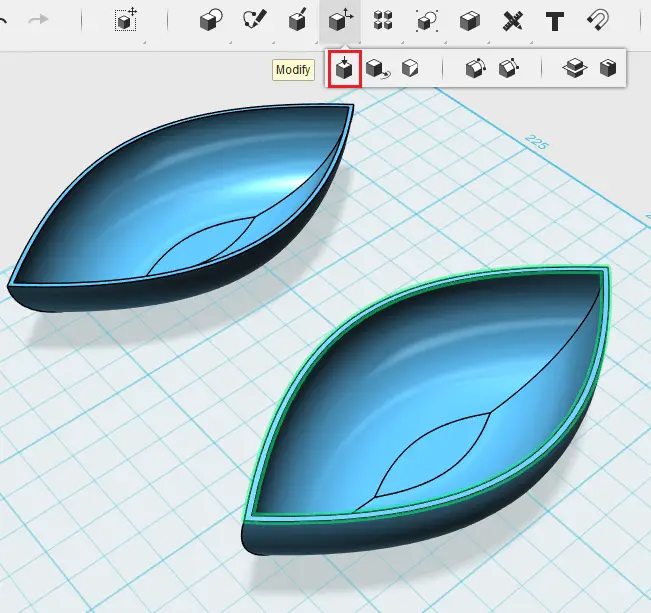
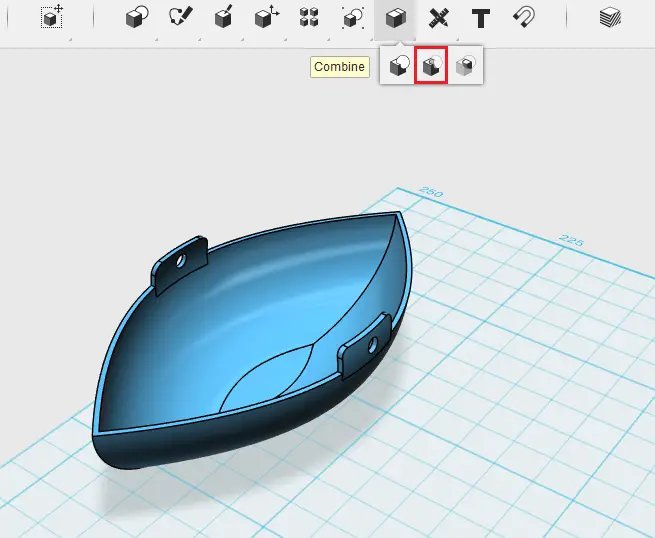
Step 6
Merge the whole.
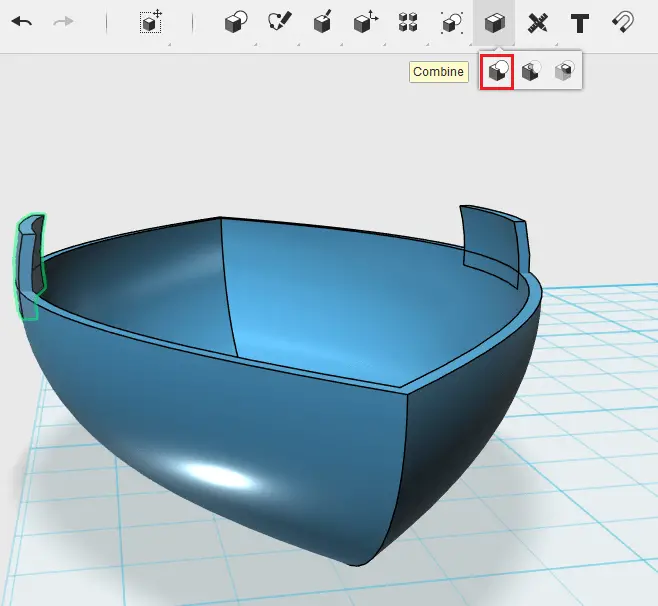
Step 7
FILLET the additional shapes
Step 8
Create a bar perpendicular to the canoe and place it somehow in the middle of the added shape to create holes for the paddles.
Step 9
Subtract
Here you go. You can use the same technique to model the paddle.
Download this project’s CAD-file
Related posts:
 Model a Vase in AutoCAD Using The Revolve Command
 Modeling a Vase With Tinkercad
 3D Design Project for Beginners – A Stool
 How to Assemble With Tinkercad
 Beginner’s Tips – Autodesk Tinkercad
 An Easy Beginner 3D Modeling Project
 Design a Mechanical Part With Autodesk Tinkercad
 Best Mouse for 3D Modeling