There are a lot of tools that are useful in an electronics workshop, some are basic ones such as power supplies and multimeters but at some point, you will need more advanced tools like an oscilloscope or a function generator.
Those are quite expensive but fortunately. That is why today, we are going to build a cheap DIY square wave generator that in some case can replace an oscilloscope.
This is a very simple project making it perfect for beginners.
Square wave generator
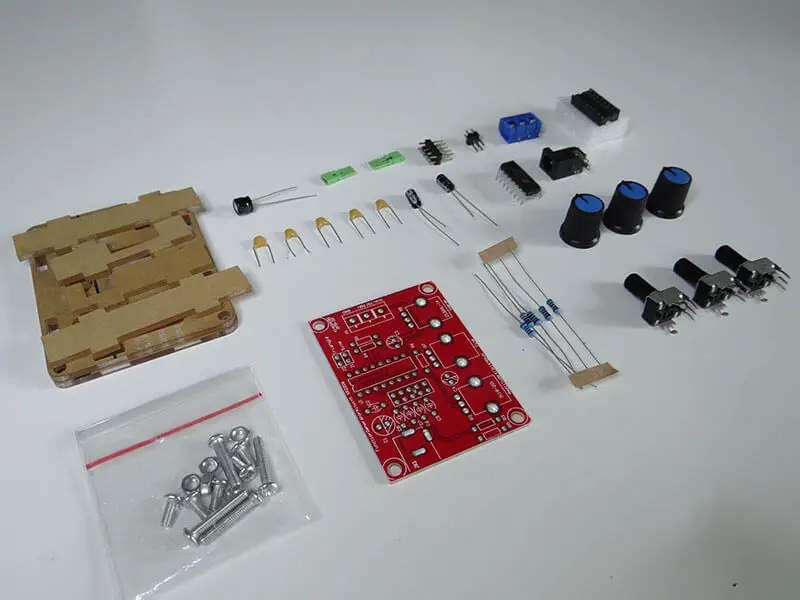
These are the parts included in the kit.
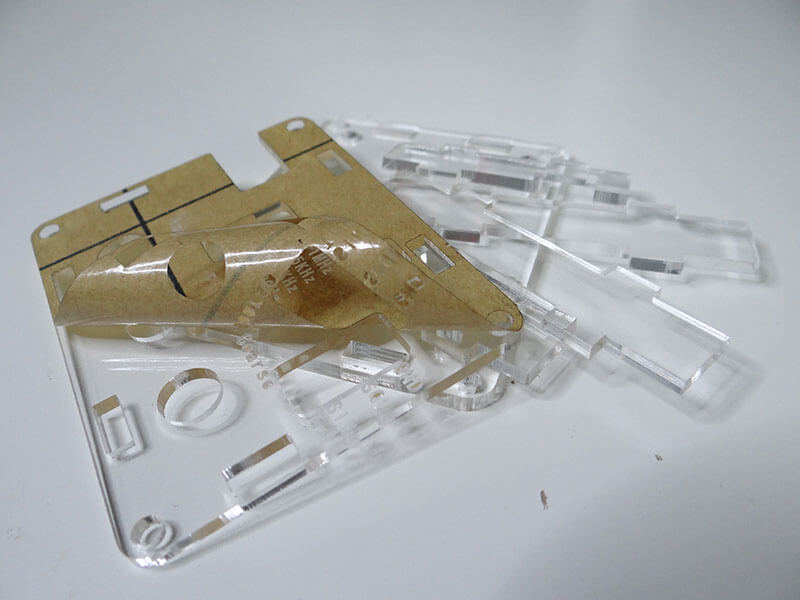
Before we start with soldering, let’s remove the protective foil from the parts forming the case.
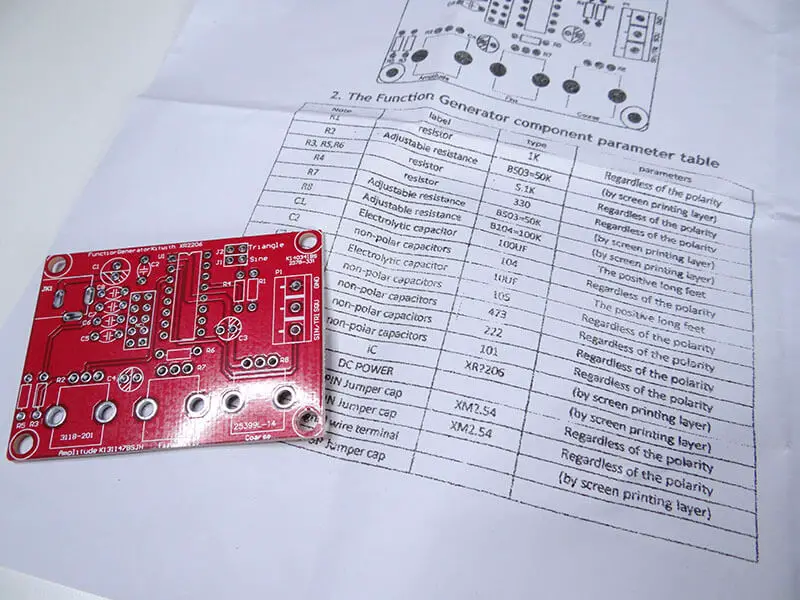
There is an instruction leaflet in the box that helps find important information. This is of help while identifying the components and their values.
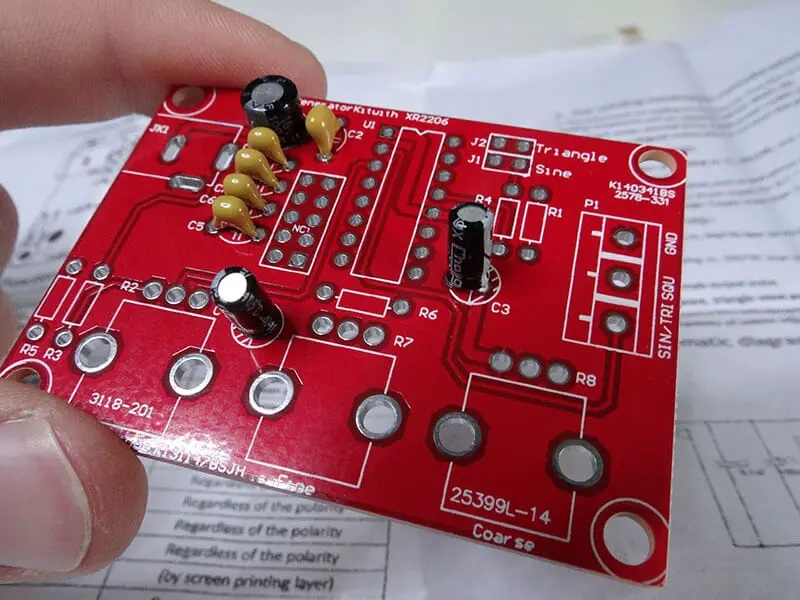
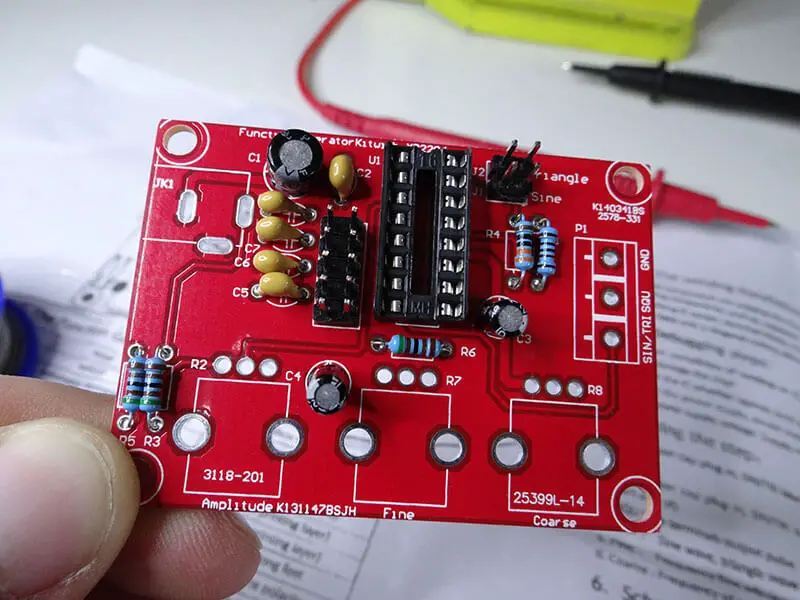
As always, we start with placing the smallest components and soldering them to the board.
I will start with capacitors, make sure that all of the values are correct, each capacitor has its value different from the others.
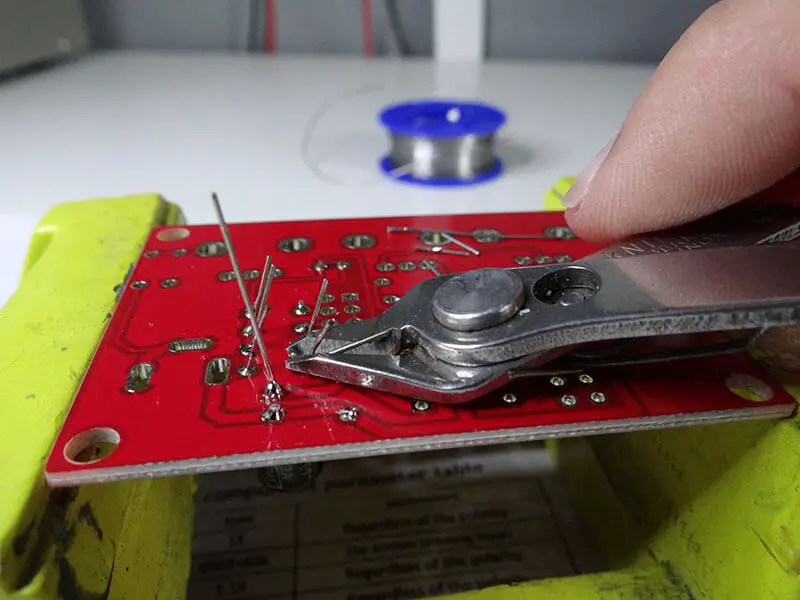
After soldering all components, if their legs are too long cut them out.
After the capacitors, we can place the resistors in their appropriate position. On the leaflet, you can find where to put each resistor having as reference their value. Remember you can use your multimeter to find the resistance values of the resistors.

Solder them and cut out the legs.
Let’s solder the break out headers and the IC support.
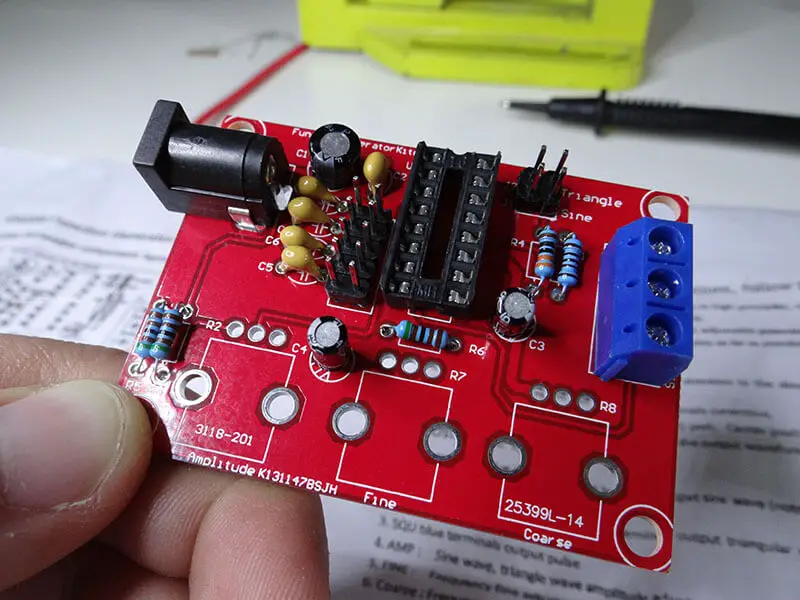
To power it, we will use a standard DC jack, solder that together with a screw terminal that let us connect cables to generate our output signal.
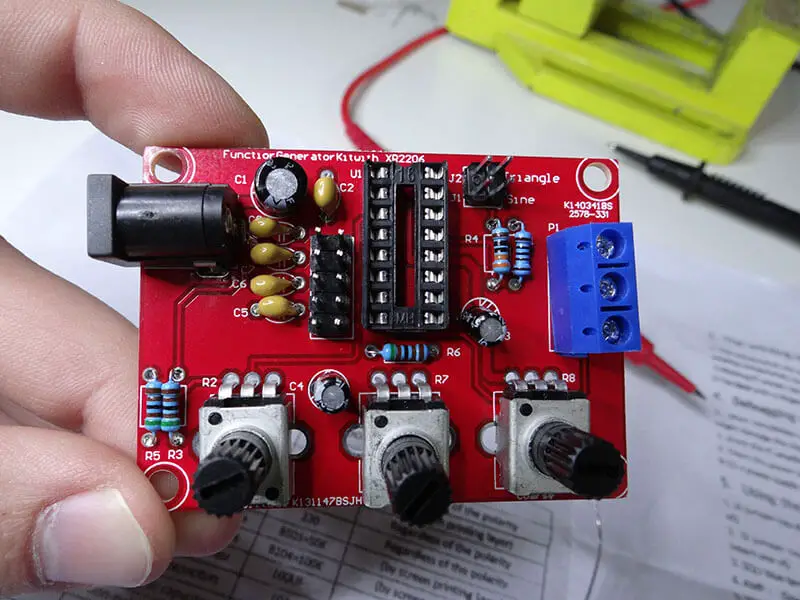
The last 3 parts to solder are the potentiometers. One of them is different so make sure to put it in right place.
After soldering, we can plug the IC in.
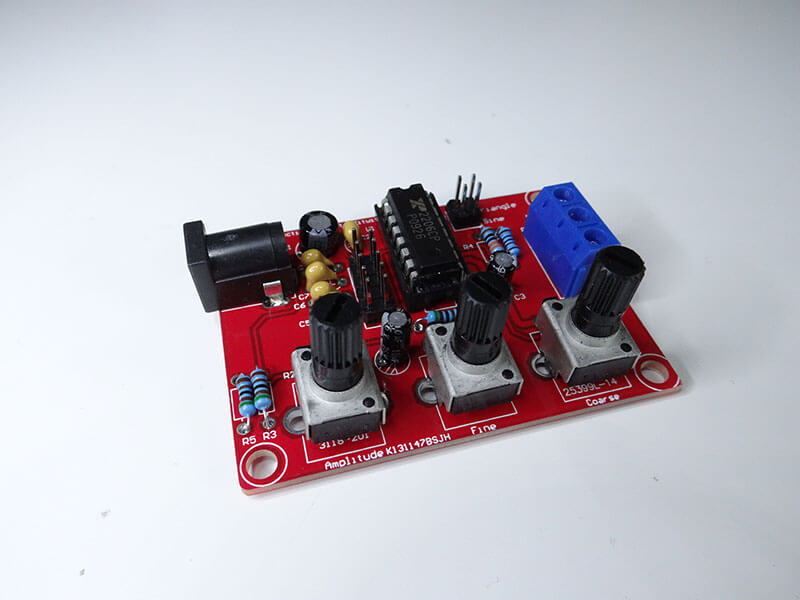
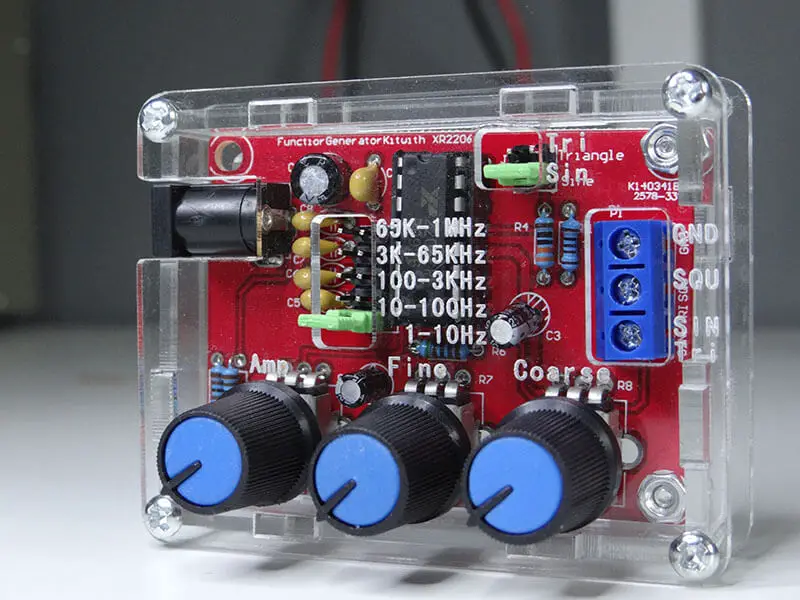
The last part is to build the case.
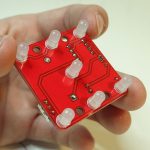
As you can see it’s quite small so it wouldn’t take lots of space on your desk. You can power it with a voltage in the range of 9-12V.
Related posts:
 11 Programmable Robot Toys for Kids
 Electronic Project for Beginners: Fiber Light
 Electronic DIY Metal Detector Project
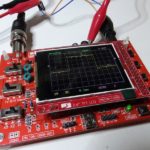 Electronic DIY Project: Building Your Own Oscilloscope
 Electronic DIY Project for Your Lover
 DIY Electronic Fidget Spinner
 The Different Types of Circuit Boards And What You Should Know
 Electronic Project: The Making of an Electronic Dice