There is more than one way to select objects in AutoCAD. They all produce the same results, but there are a few things to learn about selecting in AutoCAD.
AutoDesk continues to enhance the selection function in AutoCAD, as seen in the latest release. If they incorporate features that will benefit users, it would be wise to learn how to utilize them effectively and appropriately.
Why do you need to select?
You may need to select an object while using a command, or you may need to select it to delete. (To Delete an object or objects in AutoCAD, you need 1. to select the object or objects, 2. Press the DELETE key on your keyboard).
How do I know an object is selected?
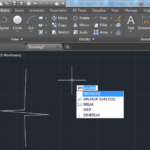
When an object is selected, its color changes. In the 2015 version of AutoCAD, here is what an object looks like when it is selected.
Here are a few ways to select objects in AutoCAD
- Click on the object to select it
- Creating a zone of selection from left to right
- Creating a zone of selection from right to left
- Creating a rectangle of selection from left to right
- Creating a rectangle of selection from right to left
It looks complicated, huh!? But worry not, it is not. In the beginning, you can use any method that seems the easiest to you, seeing that each one does the job.
Click on the object to select it.
It is the most intuitive of all, but it is time-consuming if you have a bunch of objects to select at once. To select an object, you need to click on it. If you have many objects, selecting one at a time may be tedious.
Zone of selection from right to left
Here, the goal is to be able to select many objects at once. Actions needed are:
- Click and hold
- Move your cursor rightward to get the object you are trying to select to be inside the zone of selection.
- Release the click when you are done with creating the zone of selection
The requirement here is that all the objects you are trying to select must be included in the selection zone.
In the image below, you can see the so-called zone of selection represented in blue. The object selected in the following case will be the two circles inside the blue area. The bigger circle won’t be selected; it overlaps with the zone of selection but is not inside the zone of selection. Only objects included in the blue area are selected.

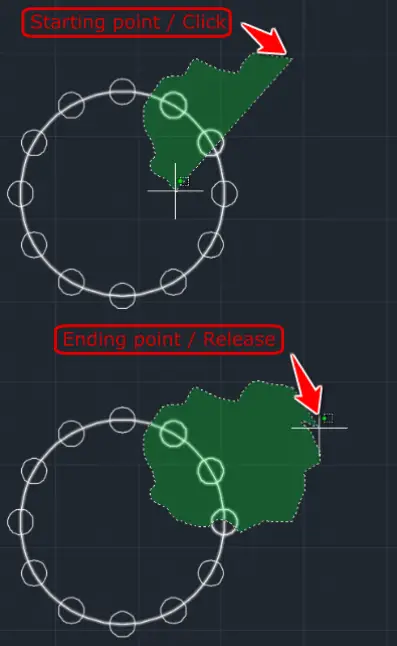
Zone of selection from right to left
This method is similar to the previous one, with the major difference that here, all objects that overlap with the zone of selection are selected, with no need for them to be inside. Here is how it works:
- Click and hold
- Move your cursor leftward to get the objects you are trying to select to overlap with the selection zone.
- Release the click when you are done with creating the zone of selection
In the given example, the three circles that intersect with the selection area and the large circle will be selected at the end of the selection process.
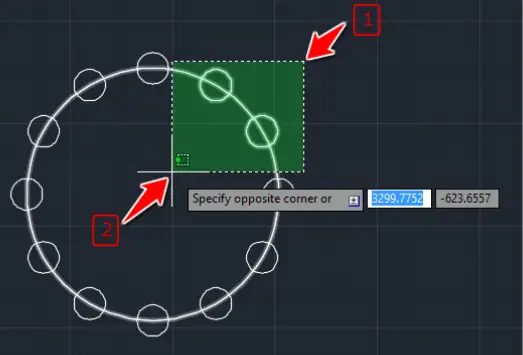
Window selection Box
This works exactly like the first method (notice the blue color) but you don’t hold after the first click, you need a click to specify the first point and a second click to specify the second point. All objects included in the window of selection will be selected.
From left to right.

Crossing selection box
This works like the second method above. One-click to specify the first point and a second click to specify the second point. All objects that overlap with the rectangle of selection will be selected.
From right to left.
Now that you know how to select in AutoCAD, let’s try the following.
Practice Exercises
- Learn AutoCAD in 21 DAYS | Great series to help you learn AutoCAD 2D
- AutoCAD exercise 00
- AutoCAD exercises
- AutoCAD exercise 01
- Excel to AutoCAD tutorial
Related posts:
 AutoCAD Tutorial 00: AutoCAD Free Download Full Version
 7 Reasons Why You Need to Learn How to Use AutoCAD
 AutoCAD Tutorial 16: Chamfer and Fillet command in AutoCAD
 Learn AutoCAD Basics: DAY 5
 Learn AutoCAD Basics: DAY 14
 AutoCAD Tutorial 19: Convert Spline to Polyline
 Save Your Life With the SPHERE Command in AutoCAD
 AutoCAD Tutorial: Breakline AutoCAD