This post will show you how as a beginner, you can model a simple object like a vase or a cup using AutoCAD.
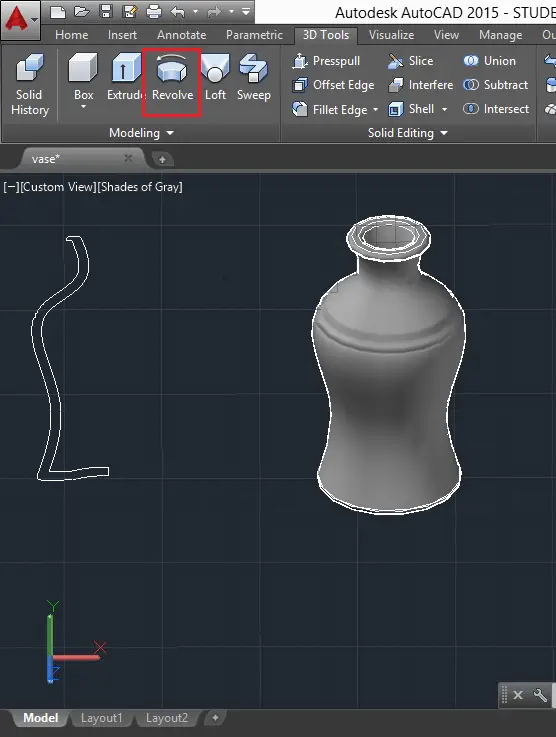
We will see how you can make use of the REVOLVE command to design realistic object in AutoCAD.
How to use REVOLVE in AutoCAD
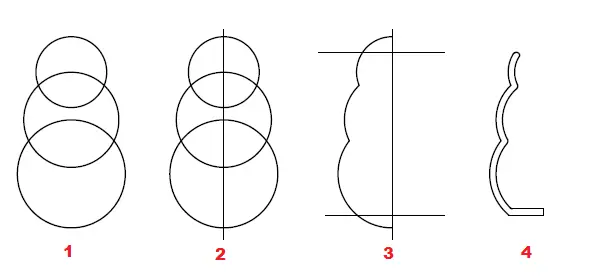
Using the REVOLVE command in AutoCAD requires you to build a profile, which the command will be used to sweep around a line to create a 3D object.
So, designing a vase in AutoCAD using the REVOLVE command will heavily depend upon the profile you created earlier.
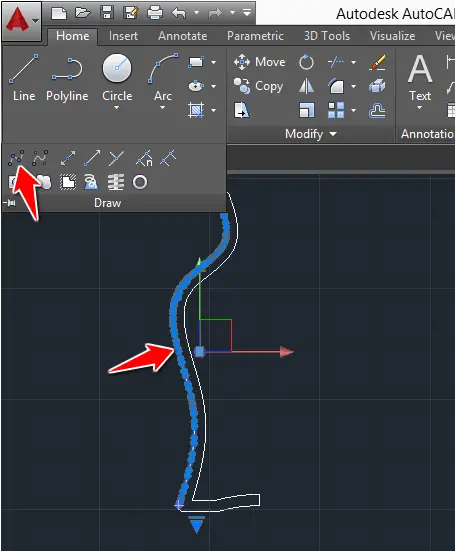
Using the SPLINE command to design the profile that will later help you model a vase is one of the easier route to take.
Notice the degree of freedom this spline gives you. All blue point allow you to alter the shape of the vase to match what you have in mind.
Using the OFFSET command is also needed here.
The next step from this is to unite all lines for them to form a single block, before using the REVOLVE command. Use the REGION command to unite all.
To use the REGION command
- Type REGION and Press ENTER
- Select the whole
- Press ENTER
To use the REGION command, make sure there is no opening on the contour and no extension of lines.
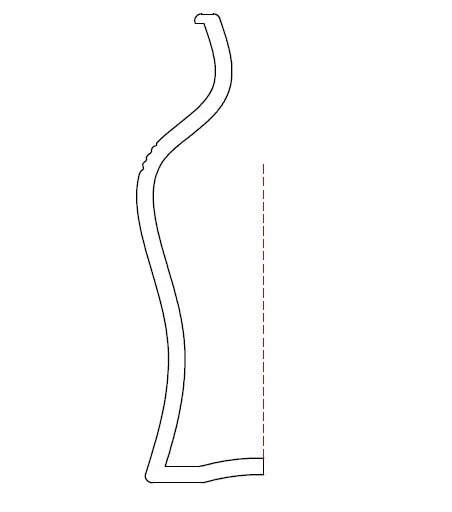
Make sure to specify the center line of the revolve like stated on the image below. (because we want the bottom of the vase not to be open, notice the part of the profile common with the red line is a perfect vertical like)
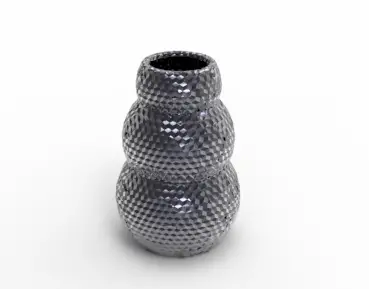
Here is another vase you can practice on.
Here is how you can draft the 2D profile
Although The video does not include the use of the REVOLVE command, it will help you grasp some techniques you can use to model a cup in AutoCAD.
3D Projects (Good 3D practice exercises)
- 3D Design project for beginners – AutoCAD
- AutoCAD 2D to 3D
- An easy Modeling 3D project
- 3D Design project for beginners – A Stool
- 3D design project for Beginners – A table
- CAD projects for Beginners – Tinkercad
- How to assemble with Tinkercad
- Beginner’s tips – Autodesk Tinkercad
- Design a mechanical part with Autodesk Tinkercad
- Modeling with AutoDesk Tinkercad
