Here is another 3D How-to tutorial that might be of help to improve your skill in 3D CAD Design using AutoDesk Tinkercad
For the sake of simplicity and practicality, we won’t be showing the icons allowing you to perform in each step, assuming you have been following the series of designs with Tinkercad published earlier on here.
Modeling with Autodesk Tinkercad
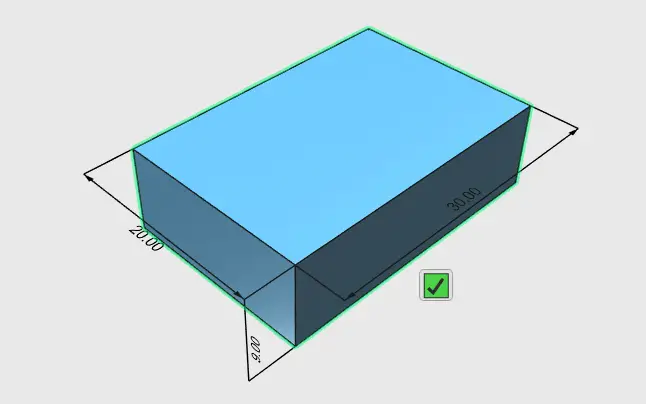
Step 1
Draw a bow with the following dimension: 30 x 20 x 9
Step 2
FILLET the corners with R6.5 such as to have the following

Step 3
FILLET the bottom edge with R6

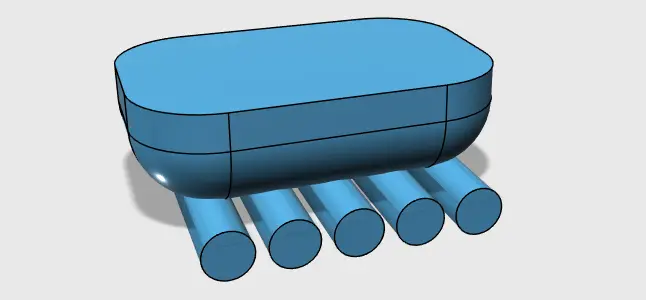
Step 4
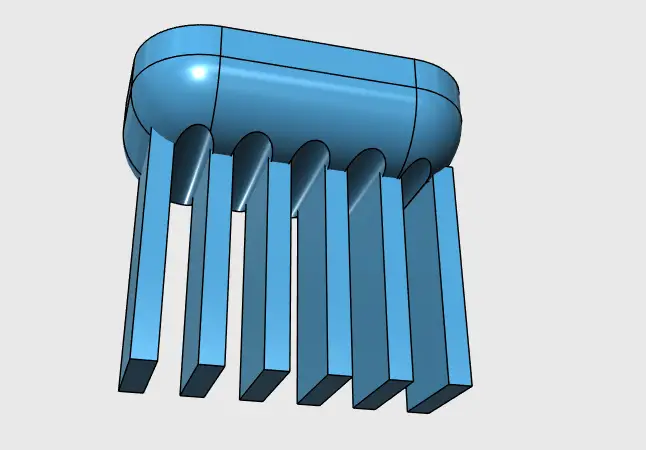
Create a series of cylinder with the following dimensions: Radius 2 and height 25
Place them like shown below, make sure they overlap with the main object.
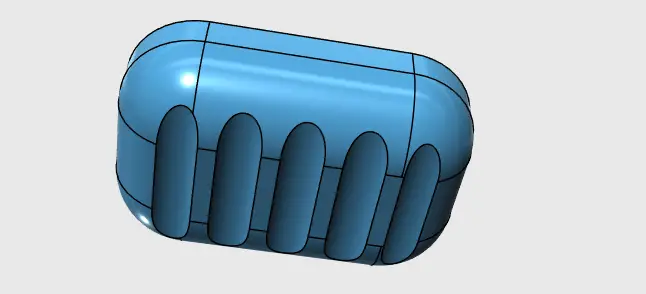
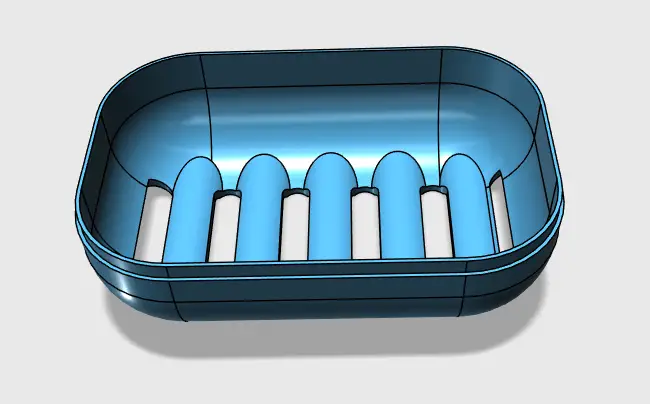
Step 5
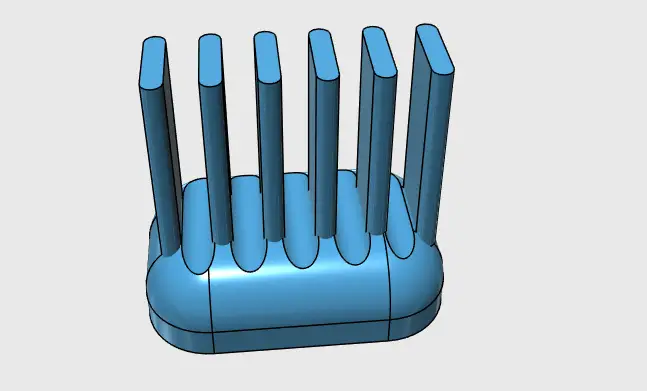
Subtract those geometries from the main object
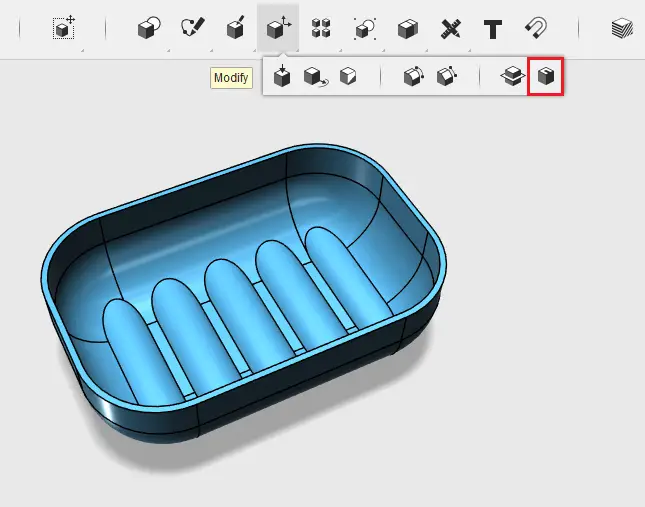
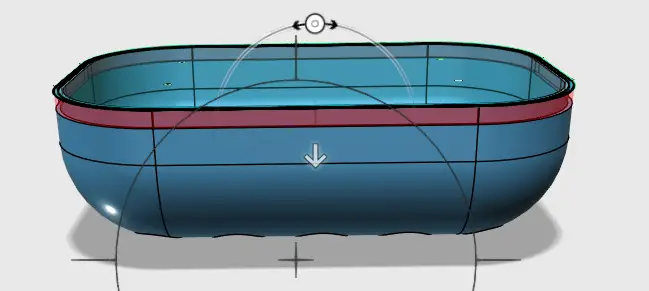
Step 6
SHELL the top surface. SHELL distance 0.5
Step 7
Create 5 boxes with 2 x 9 x 10, And place them on a flat gap at the bottom on the soap case.
Step 8
FILLET with R1 such as to have the following
Step 10
Subtract those geometries from the soap case

Step 11
Now let’s alter its contour where the cover will come and sit, to make it able to receive it.
Step 12
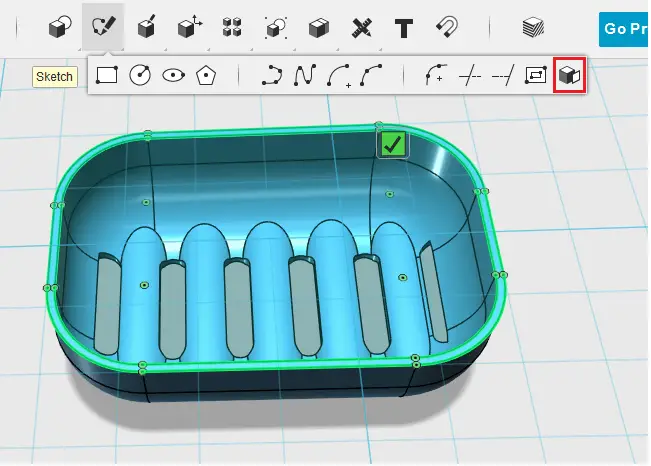
Delete the inner shape, and Offset the outer shape with a distance of 0.25 inwards.
Step 13
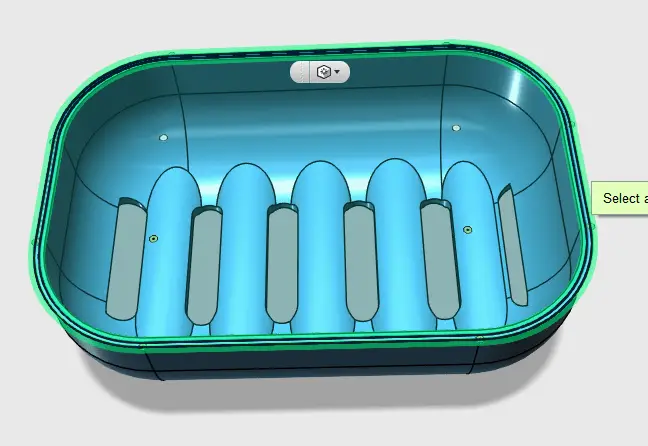
Extrude the created shape 1mm downwards.
The Geometry will automatically be subtracted from the soap case. Delete the 2D sketches and we are done!
3D Projects (Good 3D practice exercises)
- 3D Design project for beginners – AutoCAD
- AutoCAD 2D to 3D
- An easy Modeling 3D project
- 3D Design project for beginners – A Stool
- 3D design project for Beginners – A table
- CAD projects for Beginners – Tinkercad
- REVOLVE AutoCAD
- How to assemble with Tinkercad
- Beginner’s tips – Autodesk Tinkercad
- Design a mechanical part with Autodesk Tinkercad
- Modeling with AutoDesk Tinkercad
Related posts:
 Model a Vase in AutoCAD Using The Revolve Command
 Modeling a Vase With Tinkercad
 3D Design Project for Beginners – A Stool
 How to Assemble With Tinkercad
 Beginner’s Tips – Autodesk Tinkercad
 An Easy Beginner 3D Modeling Project
 Design a Mechanical Part With Autodesk Tinkercad
 Best Mouse for 3D Modeling