If you happen to have flowers you need to water often in your home, this can be the beginning of a cool adventure. You can use the soil moisture combined with the Arduino board to help you remember to water your plants when needed.
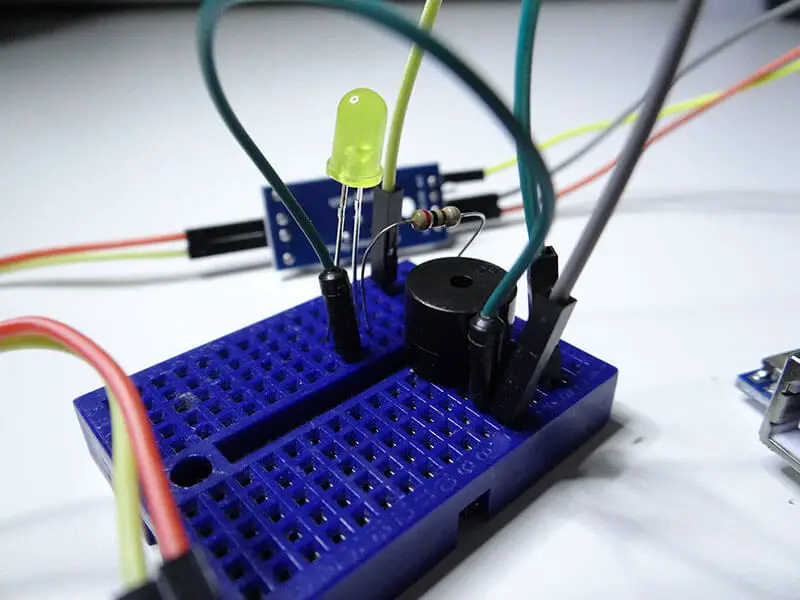
We can add a buzzer and a LED to singal that the flowers need water.
Let’s get started
What you need
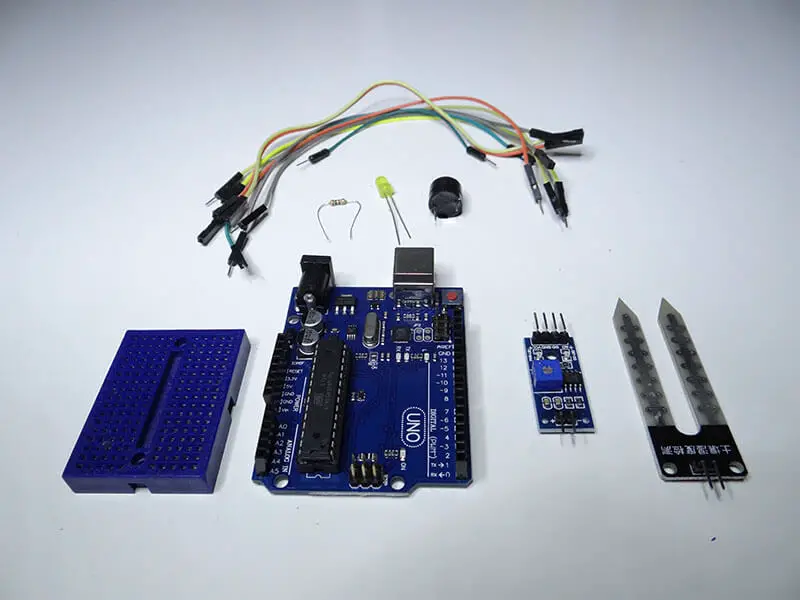
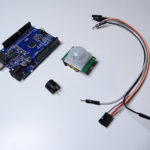
- 1 x Arduino Uno Board
- 1 x FC-28 moisture sensor
- 1 x Breadboard
- 1 x LED
- 1 x Buzzer
- 1 x 200Ω resistor
- Jumper wires
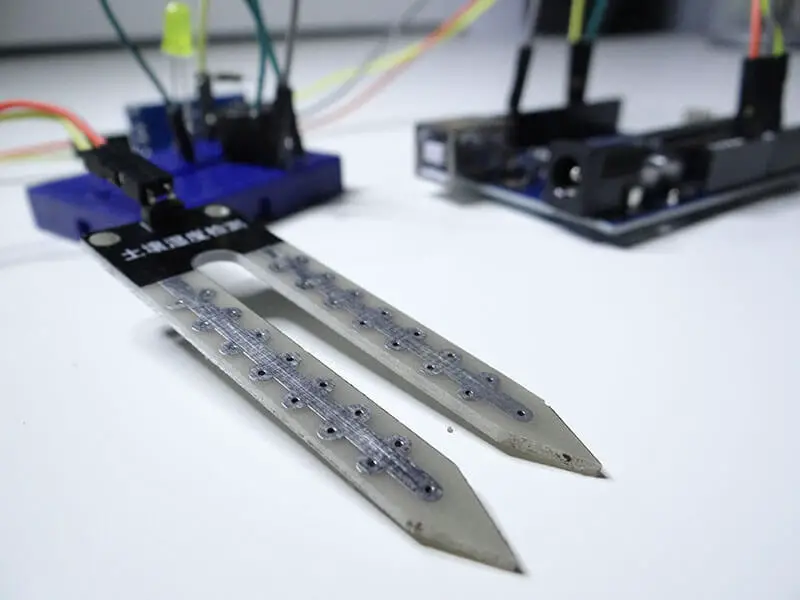
Let’s start with a quick explanation of how this sensor works. Basically, the electrodes (the legs) work as an open circuit. Those electrodes help measure the conductivity of the soil when inserted into the soil. These electrodes when inserted into the soil give an analog value depending on the degree of conductivity of the soil.
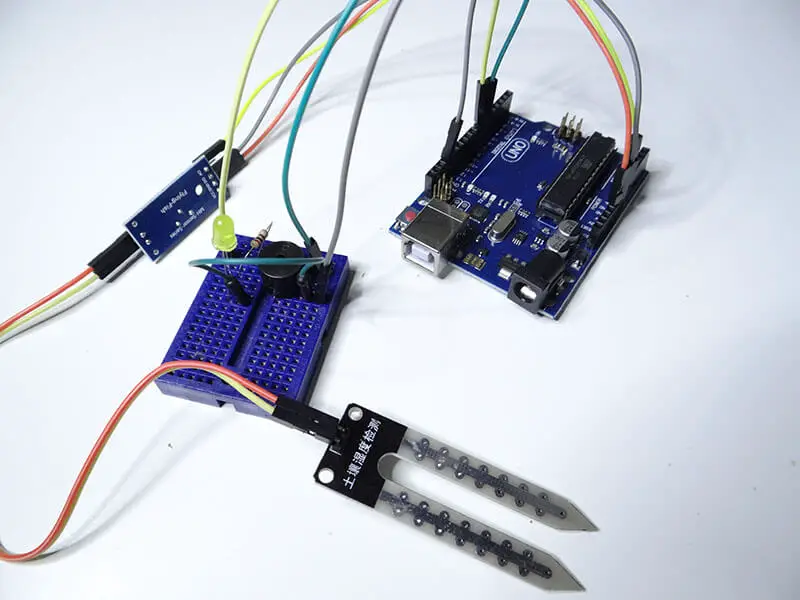
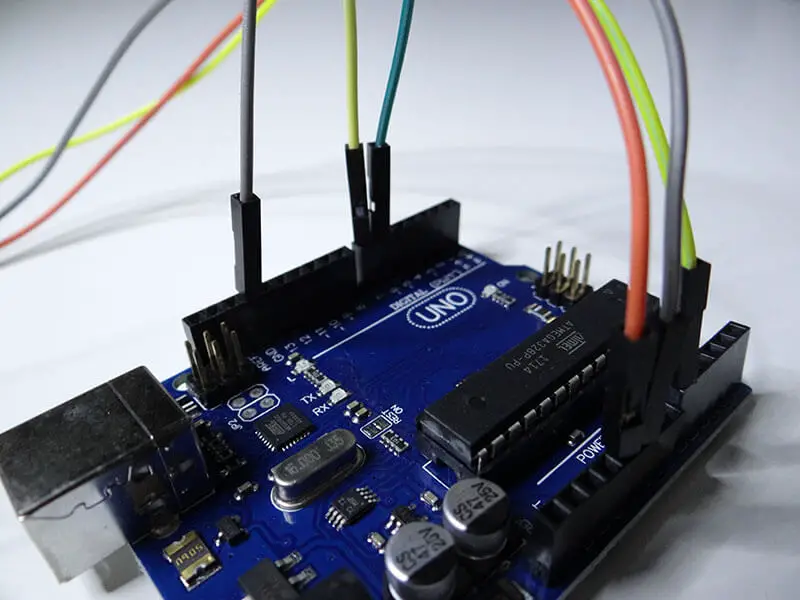
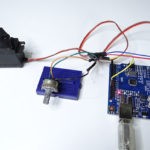
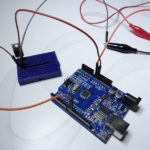
Now that you know how this sensor works, use the schematic below to connect your parts.

The board between the Arduino and the probe is a controller that helps calibrate the sensing capabilities of the sensor. The connections between the sensor controller and the probe can be done without caring about the polarities of the probe (the probe has no polarity). Make sure you connect the analog output of the sensor to the Arduino. There is also a digital output but we won’t use it here.
And the last part of this: the code.
The code uses basic functions like the analogRead(), delay() and digitalWrite(). You don’t need any additional library to get it working.
Here is how it works:
- If the value of sensor’ output is smaller than 950, nothing happens
- If the value is bigger than 950 and smaller than 1000 it makes a short beep and flashes the LED few times repetitively at a slow rate
- If value is bigger than 1000 it beeps for a second and then flashes the LED repetitively at a fast rate
[code]
void setup() {
Serial.begin(9600);
pinMode(6, OUTPUT);
pinMode(7, OUTPUT);
}
void loop() {
if(analogRead(A0) > 950 && analogRead(A0) < 1000){
digitalWrite(6, HIGH);
digitalWrite(7, HIGH);
delay(500);
digitalWrite(6, LOW);
digitalWrite(7, LOW);
for(int a = 0; a < 10; a++){
digitalWrite(7, HIGH);
delay(500);
digitalWrite(7, LOW);
delay(500);
 }
}
if(analogRead(A0) >= 1000){
digitalWrite(6, HIGH);
digitalWrite(7, HIGH);
delay(1000);
digitalWrite(6, LOW);
digitalWrite(7, LOW);
for(int a = 0; a < 10; a++){
digitalWrite(7, HIGH);
delay(200);
digitalWrite(7, LOW);
delay(200);
}
}
}
[/code]
As you can see in the video, when the sensor’ electrodes are buried in the pot, the sensor signals that there is a need to water the plants, After watering, it stops beeping. And should start signaling again when the pot is dry again.
And that’s all. Hope you’ve learned something with this one.
You might also like:
- Arduino hx711 tutorial
- Arduino magnetic switch
- Best Arduino Kits
- gifts for engineering students
- gifts for engineers
- mpu6050 Arduino projects
- Current sensor Arduino
- Soil Moisture Sensor With Arduino
- Arduino Count up Timer Using the Nokia 5110 LCD
- Arduino Yun: Integrating or Juxtaposing Arduino with Linux
- Arduino Projects: Line Follower Robot
- Arduino RFID Project for Beginners
- Arduino MOSFET Project
- Which Arduino Should You Buy
- What Can You Do With Arduino Boards?
- Great Alternatives to the Arduino Microcontroller
- Arduino Projects: Color Sensor
- Arduino IDE Alternatives
- Arduino Mega vs. Uno
- Arduino Projects: Arduino LCD Display
- Read Arduino Rotary Encoders
- A Selection of the Best Arduino Simulators
- Arduino Projects: IR Receiver
- Arduino Light Sensor Project
- Arduino Projects: Arduino Decibel Meter
- Arduino Stopwatch Project
- Arduino Bluetooth RC Car Project
- Arduino Temperature Logger Project
- Arduino Projects: Arduino 7 Segment Display
- Arduino Projects: Clap ON Clap OFF Light
- Arduino Relay Project
- Install a Library Onto the Arduino IDE
- Arduino Projects: Rainfall Detector
- Arduino Projects: RGB LED Arduino
- Arduino Stepper Motor Project
- Arduino Projects: Arduino DC Motor Control
- The Top Affordable Arduino Robot Kit
- Arduino 3D Printed Case
- Arduino Projects: Asynchronous LEDs Blink
- Arduino Projects: Ultrasonic Distance Sensor
- Arduino Projects: LED – 4X4X4 LED Cube
- Arduino Car Projects: Build an Obstacle Avoiding Robot With Less Than $30
- Arduino Projects: Servo Potentiometer Control
- Arduino LED Project: Knight Rider
- Arduino Projects: PIR Motion Sensor
- The Difference between Arduino and Raspberry Pi
- Top 9 Books Every Engineer Should Read
- Top Used Sensors for Arduino
- First Hand on the Arduino Uno Board
Related posts:
 Arduino Projects: Building an Arduino Countdown Timer
 Arduino Projects: LED – 4X4X4 LED Cube
 Arduino Projects: PIR Motion Sensor
 The Best Arduino Starter Kits
 Arduino Relay Project
 Arduino Projects: Building a Mini Arduino Shield With KiCAD – Part 1
 Arduino MOSFET Project
 The Top Alternative IDE for Arduino You Should Start Using Today