One of the most popular sensors almost everyone has at home is the gas detectors. It makes your home a little smarter than usual by adding to it the ability to detect dangerous gases. This can actually save lives.
Making yours can provide a lot of fun and will actually help understand more about these type of sensors.
Let’s build a project that detects gases like CO and afterdamp.
Keep in mind that our sensor wouldn’t be certified and tested professionally as the one you have at home but it does not remove the usefulness of it.
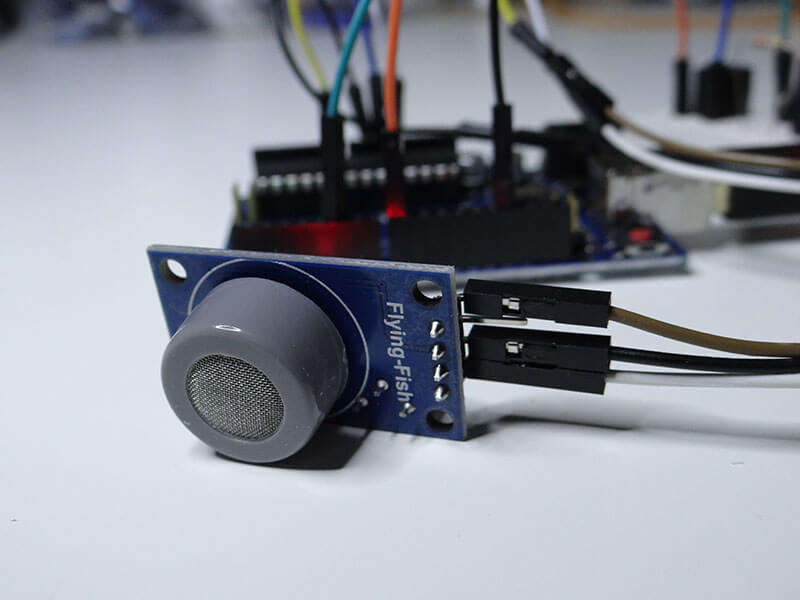
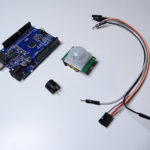
We are going to use the very popular gas sensor: MQ-7. But you can also use the CO2 sensor or the alcohol sensor. They are all very similar and you can use them almost the same way.
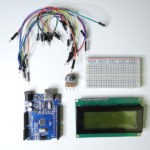
Parts needed

Making
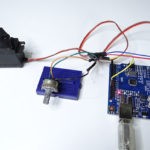
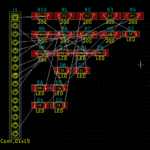
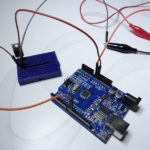
So as always we will start by connecting everything as shown in the schematic below.
Make sure you connect the analog output of the sensor to the Arduino.
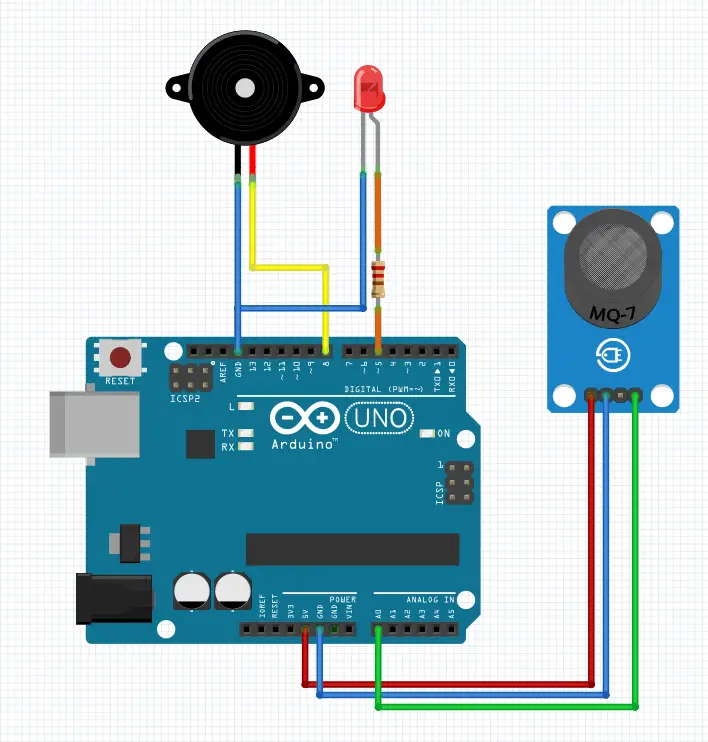
It is a really good idea to use both the LED and the buzzer (visual + sound) as the output signal because it increases the probability of the signal to be noticed.
Before powering it on, I want to mention this one thing: this sensor heats up to measure gas in the air. It is normal that it gets hot or smell like it was burning.
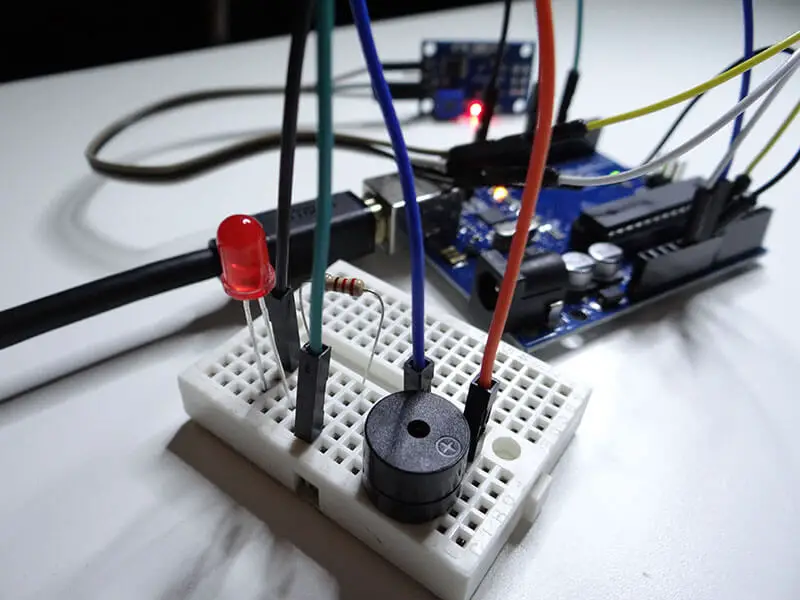
Upload the code when you are done with the wiring.
The project simply reads the output values from the sensor and base on that, blink the LED faster or slower. At some value above the threshold, the buzzer should turn ON.
Beyond the visual and sound output using the LED and the buzzer, it also sends the output information to the Serial monitor so you can see what is happening and eventually adjust the code accordingly.
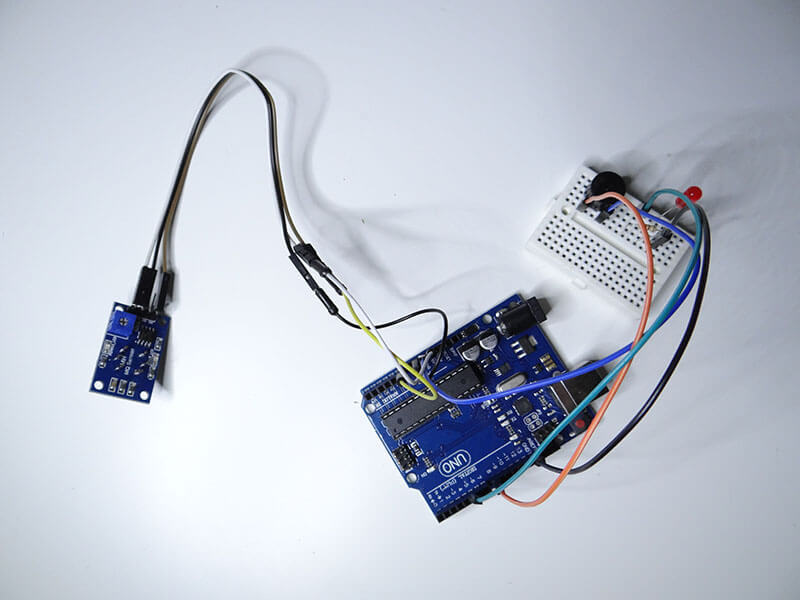
The easiest way to check how this sensor works is to blow on it, you should see how the values on the serial monitor are increasing, the LED starts to blink faster and the buzzer turning ON.
You might also like:
- Arduino hx711 tutorial
- Arduino magnetic switch
- Best Arduino Kits
- gifts for engineering students
- gifts for engineers
- mpu6050 Arduino projects
- Current sensor Arduino
- Soil Moisture Sensor With Arduino
- Arduino Count up Timer Using the Nokia 5110 LCD
- Arduino Yun: Integrating or Juxtaposing Arduino with Linux
- Arduino Projects: Line Follower Robot
- Arduino RFID Project for Beginners
- Arduino MOSFET Project
- Which Arduino Should You Buy
- What Can You Do With Arduino Boards?
- Great Alternatives to the Arduino Microcontroller
- Arduino Projects: Color Sensor
- Arduino IDE Alternatives
- Arduino Mega vs. Uno
- Arduino Projects: Arduino LCD Display
- Read Arduino Rotary Encoders
- A Selection of the Best Arduino Simulators
- Arduino Projects: IR Receiver
- Arduino Light Sensor Project
- Arduino Projects: Arduino Decibel Meter
- Arduino Stopwatch Project
- Arduino Bluetooth RC Car Project
- Arduino Temperature Logger Project
- Arduino Projects: Arduino 7 Segment Display
- Arduino Projects: Clap ON Clap OFF Light
- Arduino Relay Project
- Install a Library Onto the Arduino IDE
- Arduino Projects: Rainfall Detector
- Arduino Projects: RGB LED Arduino
- Arduino Stepper Motor Project
- Arduino Projects: Arduino DC Motor Control
- The Top Affordable Arduino Robot Kit
- Arduino 3D Printed Case
- Arduino Projects: Asynchronous LEDs Blink
- Arduino Projects: Ultrasonic Distance Sensor
- Arduino Projects: LED – 4X4X4 LED Cube
- Arduino Car Projects: Build an Obstacle Avoiding Robot With Less Than $30
- Arduino Projects: Servo Potentiometer Control
- Arduino LED Project: Knight Rider
- Arduino Projects: PIR Motion Sensor
- The Difference between Arduino and Raspberry Pi
- Top 9 Books Every Engineer Should Read
- Top Used Sensors for Arduino
- First Hand on the Arduino Uno Board
Related posts:
 Arduino Projects: Building an Arduino Countdown Timer
 Arduino Projects: LED – 4X4X4 LED Cube
 Arduino Projects: PIR Motion Sensor
 The Best Arduino Starter Kits
 Arduino Relay Project
 Arduino Projects: Building a Mini Arduino Shield With KiCAD – Part 1
 Arduino MOSFET Project
 The Top Alternative IDE for Arduino You Should Start Using Today
My God, nobody have taken upon themselves to give you accolades for your great article and tutorial about use of the Gas detector? Thanks a lot! Very useful. Have just built it, and it works perfectly 🙂