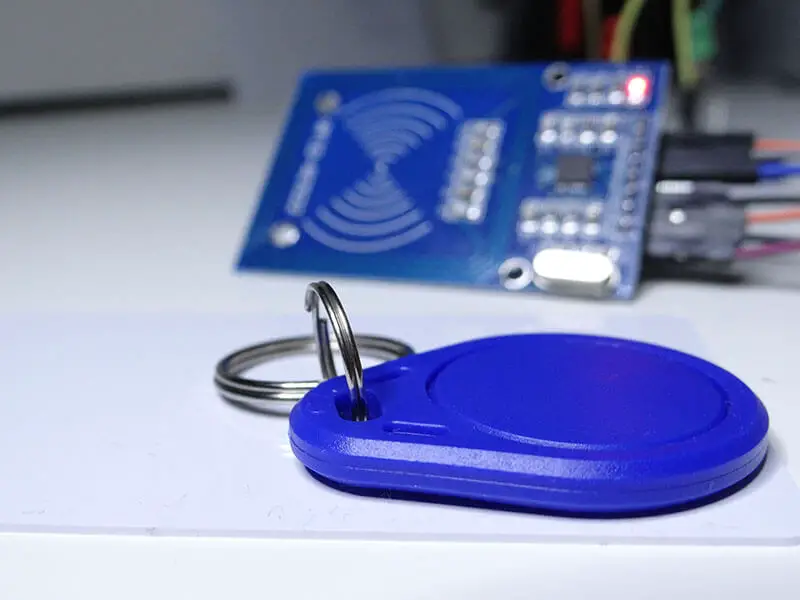
Do you know what skipasses, credit cards and clothes have in common? You may think about plastic but connecting plastic to the Arduino wouldn’t make anything functionally amazing. What we will do today is reading and authorizing RFID tags using the Arduino Uno board.
RFID stands for Radio Frequency Identification. It is commonly confused with NFC which means Near Field Communication.
What can you use this technology for? How about replacing your door key with an RFID tag? Or a safe where you can hide important stuff and safely close it with RFID tags?
The possibilities are endless. We will make a simple project that let us read a tag and check if it is the right one then switch ON the green LED otherwise switch ON the red LED.
Parts needed
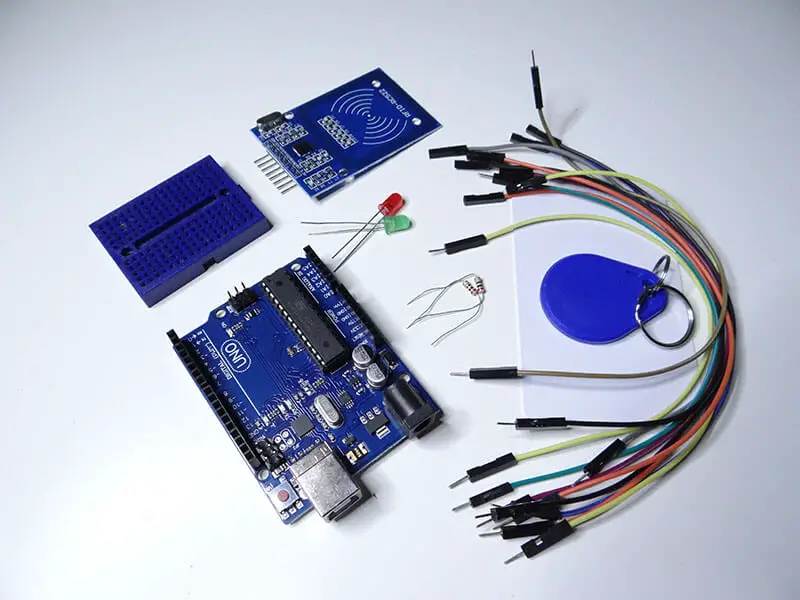
- 1 x Arduino Uno board
- 1 x RFID reader with tags
- 1 x Breadboard
- 2 x LEDs (preferably one red and one green)
- 2 x 200Ω resistors
- Jumper wires
Most of those RFID readers are sold without gold pins soldered to it, so you probably will have to do that.
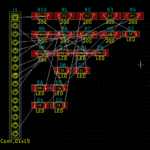
When you have all of your parts, and gold pins soldered, we can connect the whole together using the schematic below.

One pin of the RFID reader is not connected as you can see on the schematic, it is just not needed in this project.
LEDs are connected to pins 7 and 8 but you can use any other pin if you wish, just don’t forget to specify the right pins in your code if you happen to use different pins.
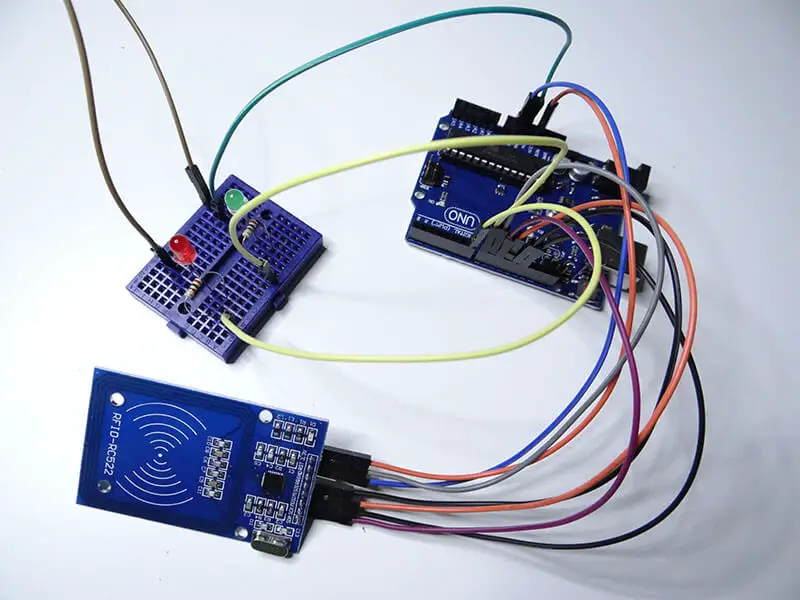
To connect LEDs to the Arduino with resistors, I suggest using a breadboard. And the last thing we need is to upload the program below to the Arduino board.
I wanted to make it as simple as possible. Unfortunately, the RFID library is not as simple to use as it should be. That will make some parts of the code hard to understand for beginners.
If you want to authorize your tag, you have to upload this code, read a tag, check out what is its value is in the serial monitor and paste it in your code.
For this project, we will need an additional library. To download it open the library manager and type RFID, then install the first library on the list.
[code language="cpp"]
#include <SPI.h>
#include <MFRC522.h>

MFRC522 mfrc522(10, 9);

void setup()
{
Serial.begin(9600);
SPI.begin();
mfrc522.PCD_Init();
pinMode(8, OUTPUT);
pinMode(7, OUTPUT);
}
void loop()
{
//here we have to wait for the card, when it is near to the sensor
if ( ! mfrc522.PICC_IsNewCardPresent()){
return;
}
//we can read it's value
if ( ! mfrc522.PICC_ReadCardSerial()) {
return;
}

Serial.print("Tag:");
String content= "";
for (byte i = 0; i < mfrc522.uid.size; i++) {
Serial.print(mfrc522.uid.uidByte[i] < 0x10 ? " 0" : " ");
Serial.print(mfrc522.uid.uidByte[i], HEX);
content.concat(String(mfrc522.uid.uidByte[i] < 0x10 ? " 0" : " "));
content.concat(String(mfrc522.uid.uidByte[i], HEX));
}
content.toUpperCase();
content = content.substring(1);
if(content == "A6 4A 76 AC"){
digitalWrite(8, HIGH);
delay(3000);
digitalWrite(8, LOW);
}else{
digitalWrite(7, HIGH);
delay(3000);
digitalWrite(7, LOW);
}
Serial.println();
}
[/code]
As you can see in the video below, the tag is recognized and signalized by the green LED. The card is not recognized so the red LED blinks.
This simple code can be extended to open the door or to build a more complicated system. Over to you!
You might also like:
- Arduino hx711 tutorial
- Arduino magnetic switch
- Best Arduino Kits
- gifts for engineering students
- gifts for engineers
- mpu6050 Arduino projects
- Current sensor Arduino
- Soil Moisture Sensor With Arduino
- Arduino Count up Timer Using the Nokia 5110 LCD
- Arduino Yun: Integrating or Juxtaposing Arduino with Linux
- Arduino Projects: Line Follower Robot
- Arduino MOSFET
- Which Arduino Should You Buy
- What Can You Do With Arduino Boards?
- Great Alternatives to the Arduino Microcontroller
- Arduino Projects: Color Sensor
- Arduino IDE Alternatives
- Arduino Mega vs. Uno
- Arduino Projects: Arduino LCD Display
- Read Arduino Rotary Encoders
- A Selection of the Best Arduino Simulators
- Arduino Projects: IR Receiver
- Arduino Light Sensor Project
- Arduino Projects: Arduino Decibel Meter
- Arduino Stopwatch Project
- Arduino Bluetooth RC Car Project
- Arduino Temperature Logger Project
- Arduino Projects: Arduino 7 Segment Display
- Arduino Projects: Clap ON Clap OFF Light
- Arduino Relay Project
- Install a Library Onto the Arduino IDE
- Arduino Projects: Rainfall Detector
- Arduino Projects: RGB LED Arduino
- Arduino Stepper Motor Project
- Arduino Projects: Arduino DC Motor Control
- The Top Affordable Arduino Robot Kit
- Arduino 3D Printed Case
- Arduino Projects: Asynchronous LEDs Blink
- Arduino Projects: Ultrasonic Distance Sensor
- Arduino Projects: LED – 4X4X4 LED Cube
- Arduino Car Projects: Build an Obstacle Avoiding Robot With Less Than $30
- Arduino Projects: Servo Potentiometer Control
- Arduino LED Project: Knight Rider
- Arduino Projects: PIR Motion Sensor
- The Difference between Arduino and Raspberry Pi
- Top 9 Books Every Engineer Should Read
- Top Used Sensors for Arduino
- First Hand on the Arduino Uno Board

how to add more tags