We have used LCD displays in the previous posts with the I2C, but it is possible to use it without an I2C. Let’s see how this is done.
We will take the advantage to visit some of the useful function you can make use of when working with LCDs.
Using the Arduino serial LCD module
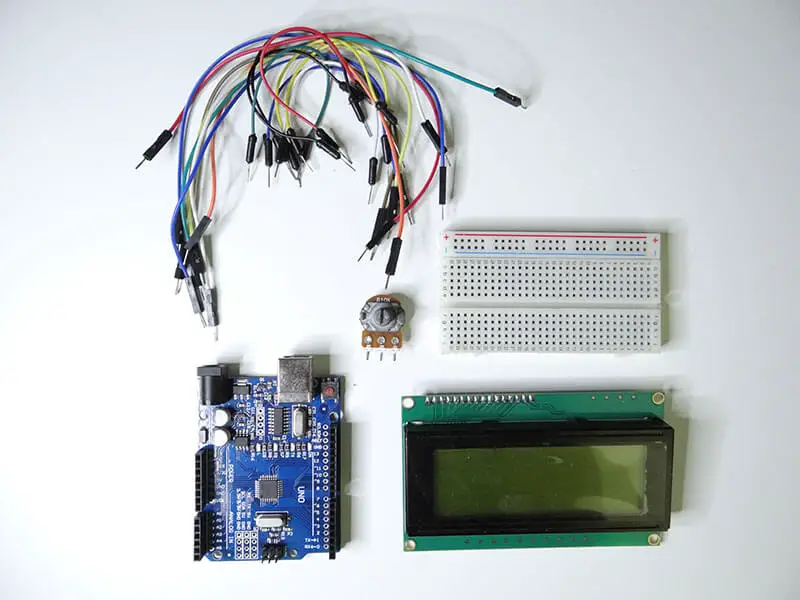
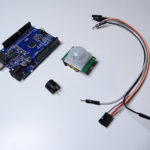
Here are the parts we will need
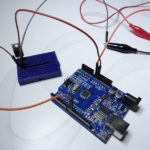
- 1 x Arduino Uno board
- 1 x LCD display (We use a 20 x 4 display, but any will do)
- 1 x Breadboard
- Jumper wires
- 1 x Potentiometer 10k
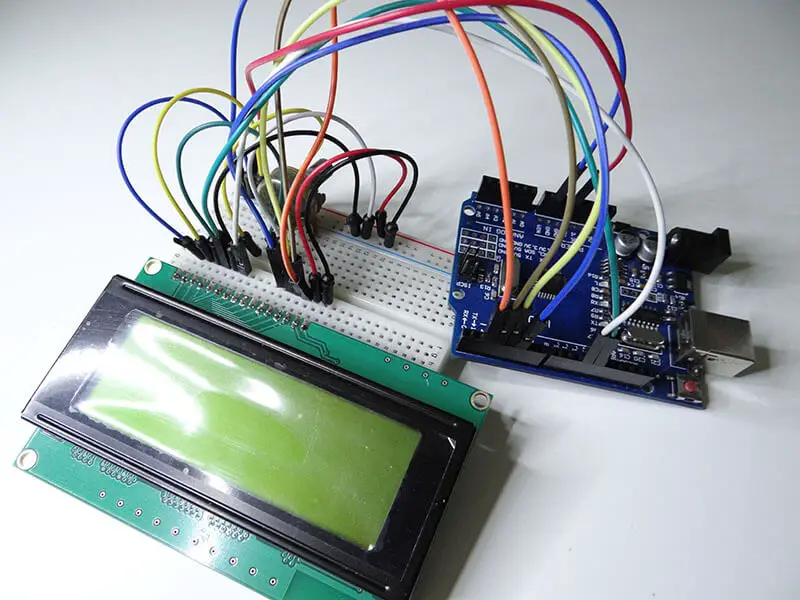
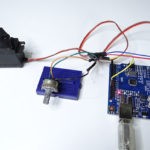
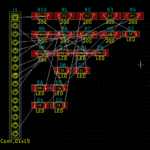
Follow the sketch below to connect the part together. Make sure the connections are right before powering up the project. A bad connection can easily damage the LCD.
There are 4 pins of the LCD we are not using, those pins are used to read data coming from the LCD which is not needed for this project. We are only using the LCD to write on, nothing more.
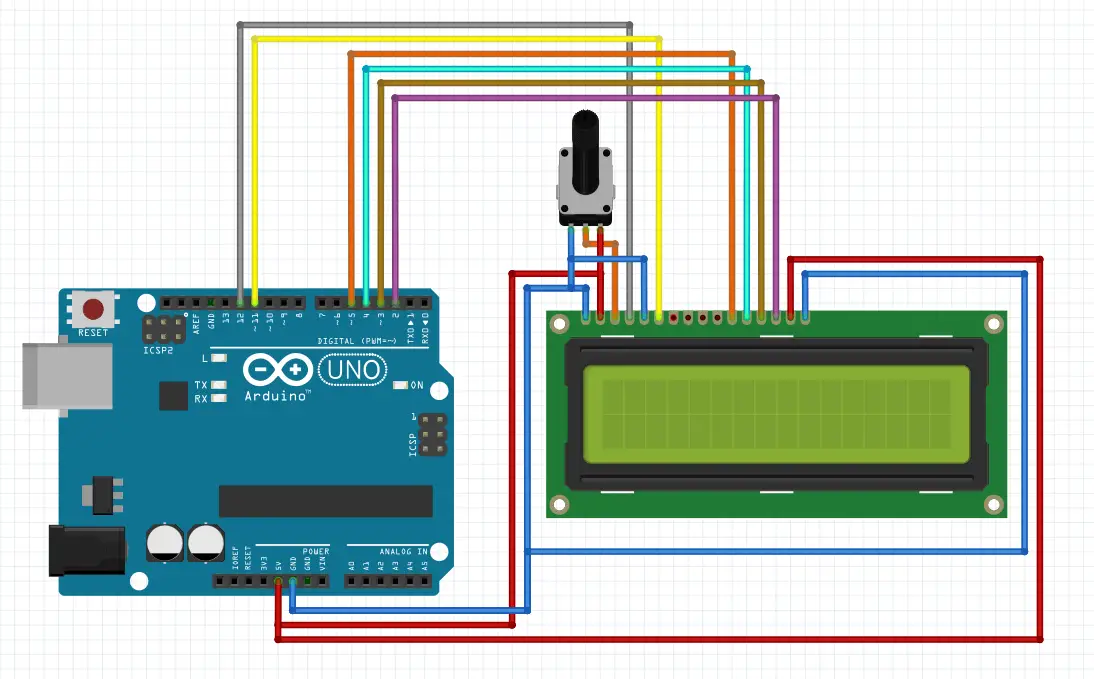
The Potentiometer is used to control the contrast of the LCD. In some case, you might need to rotate the potentiometer handle to see anything appearing on the LCD.
The last 2 pins of the LCD are used to light the LCD’s LED. You will need to connect them one pin to 5V and the other to Ground.

When you are done connecting everything, you can upload the following code to the Arduino. But before doing that you need to add the Adafruit_LiquidCrystal.h to your code. To do so, simply navigate to the library manager, search for LCD and it will be right there. Click on it to add it.
The major functions used here are clear, print, setCursor. These are really easy to use and self-explanatory.
That’s it for this session. Here are other projects where we made good use of the serial LCD module.
You might also like:
- Arduino hx711 tutorial
- Arduino magnetic switch
- Best Arduino Kits
- gifts for engineering students
- gifts for engineers
- mpu6050 Arduino projects
- Current sensor Arduino
- Soil Moisture Sensor With Arduino
- Arduino Count up Timer Using the Nokia 5110 LCD
- Arduino Yun: Integrating or Juxtaposing Arduino with Linux
- Arduino Projects: Line Follower Robot
- Arduino RFID Project for Beginners
- Arduino MOSFET Project
- Which Arduino Should You Buy
- What Can You Do With Arduino Boards?
- Great Alternatives to the Arduino Microcontroller
- Arduino Projects: Color Sensor
- Arduino IDE Alternatives
- Arduino Mega vs. Uno
- Arduino Projects: Arduino LCD Display
- Read Arduino Rotary Encoders
- A Selection of the Best Arduino Simulators
- Arduino Projects: IR Receiver
- Arduino Light Sensor Project
- Arduino Projects: Arduino Decibel Meter
- Arduino Stopwatch Project
- Arduino Bluetooth RC Car Project
- Arduino Temperature Logger Project
- Arduino Projects: Arduino 7 Segment Display
- Arduino Projects: Clap ON Clap OFF Light
- Arduino Relay Project
- Install a Library Onto the Arduino IDE
- Arduino Projects: Rainfall Detector
- Arduino Projects: RGB LED Arduino
- Arduino Stepper Motor Project
- Arduino Projects: Arduino DC Motor Control
- The Top Affordable Arduino Robot Kit
- Arduino 3D Printed Case
- Arduino Projects: Asynchronous LEDs Blink
- Arduino Projects: Ultrasonic Distance Sensor
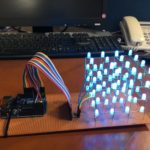
- Arduino Projects: LED – 4X4X4 LED Cube
- Arduino Car Projects: Build an Obstacle Avoiding Robot With Less Than $30
- Arduino Projects: Servo Potentiometer Control
- Arduino LED Project: Knight Rider
- Arduino Projects: PIR Motion Sensor
- The Difference between Arduino and Raspberry Pi
- Top 9 Books Every Engineer Should Read
- Top Used Sensors for Arduino
- First Hand on the Arduino Uno Board
Related posts:
 Arduino Projects: Building an Arduino Countdown Timer
 Arduino Projects: LED – 4X4X4 LED Cube
 Arduino Projects: PIR Motion Sensor
 The Best Arduino Starter Kits
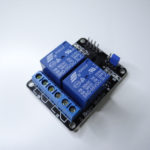 Arduino Relay Project
 Arduino Projects: Building a Mini Arduino Shield With KiCAD – Part 1
 The Top Alternative IDE for Arduino You Should Start Using Today
 Arduino RFID Project for Beginners